Well, Cricut says the Maker needs calibration when cuts start drifting off the line. But after six years of running a sticker shop out of my basement, I've learned that "calibration" is one of those words that means different things depending on who's talking. For some folks, it's a software button they're scared to press. For me, it's the difference between a clean batch of 50 decals and a 2 a.m. redo session with Roscoe snoring on my feet.
Related: Cricut Maker 4 Vs Maker 3
I own a Maker 3 that I bought second-hand, an old Explore that refuses to die, and a borrowed competitor unit I'm testing for comparison. I've calibrated the Maker at least a dozen times, taught more than 200 students how to do it in my weekend classes, and watched enough confused faces to know exactly where the instructions lose people.
Here's the short version: calibrating a Cricut Maker is a 5-minute job once you understand what the machine is actually asking you to do. The problem is that Cricut's own instructions skip the part where you need to know what a good test cut looks like versus a bad one.
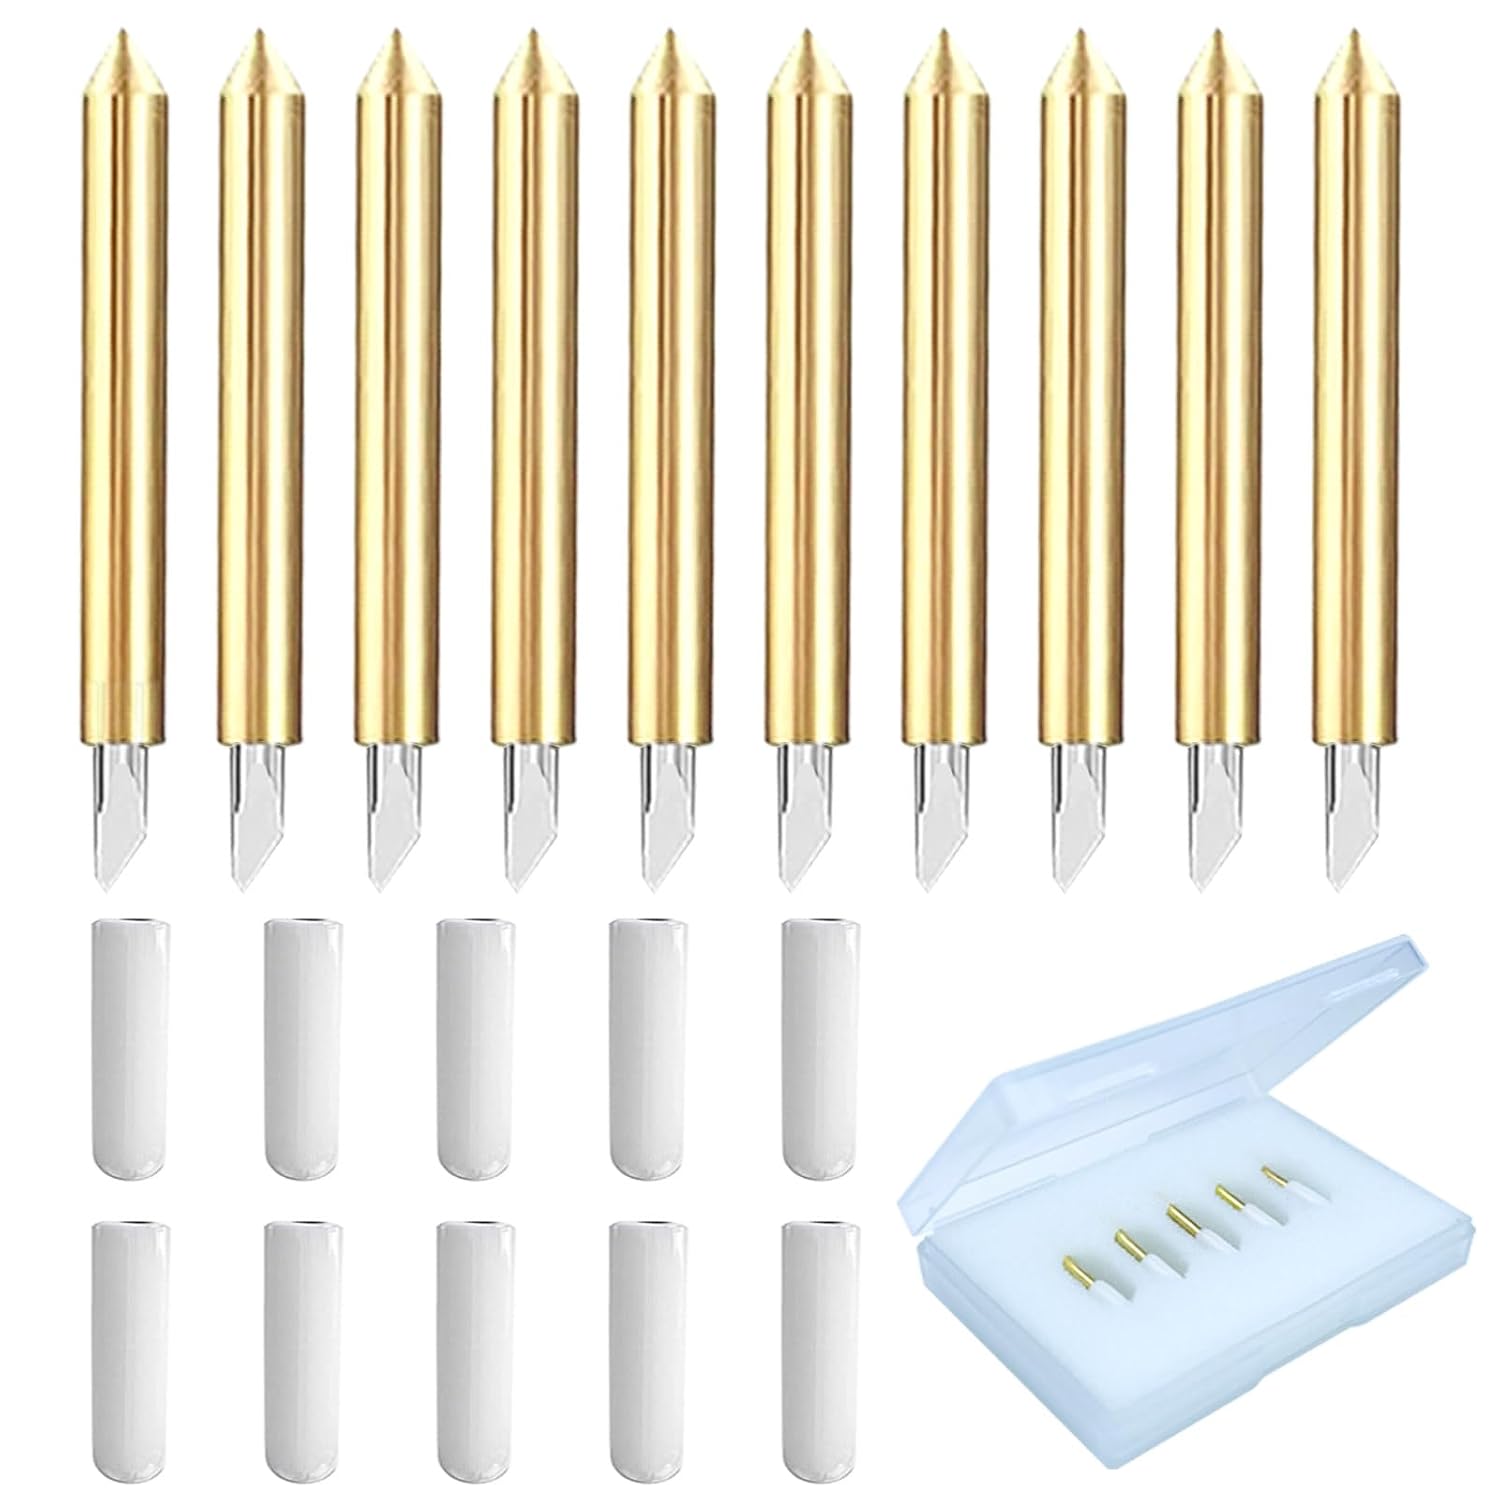
Viemior 20PCS Premium Fine Point Blades Compatible with Cricut Maker 3/4/Make...
20-pack of fine point blades for Cricut Maker/Explore.
Visit on Amazon →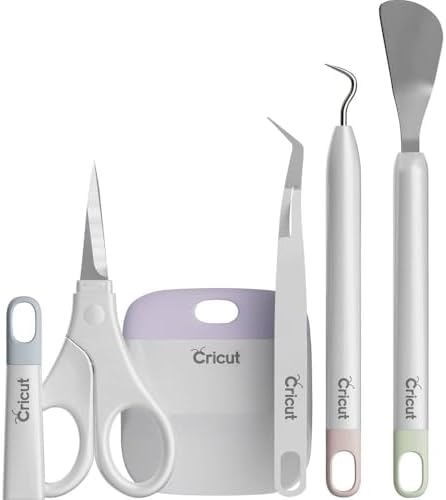
Cricut Basic Tool Set - 5-Piece Precision Tool Kit, Mint
Quality pick in this category.
Visit on Amazon →Why calibration matters more than you think
I've seen students quit over this. They buy a Maker, run a test cut, and the machine slices through the registration lines like it's angry at them. They assume the machine is broken, or worse, that they're doing something wrong. Neither is true. The machine just needs a nudge.
Calibration on the Maker adjusts the blade housing's position relative to the carriage. Over time, with vibration and regular use, that position drifts. The cuts don't line up with the printed registration marks, which matters if you're doing Print then Cut stickers or layered vinyl. If you're only doing basic cuts from solid sheets, you might never need to calibrate. But the moment you print a design and ask the machine to cut around it, calibration becomes your best friend.
How I actually calibrate my Maker
The process itself is simple, but let me give you the version I've refined after teaching it dozens of times.
First, make sure the machine is on a flat, stable surface. I know that sounds obvious, but I've had students try to calibrate on a wobbling kitchen table and then wonder why the test cut keeps failing. The Maker needs to be still.
Open Design Space, go to the hamburger menu in the top left, select "Settings," then "Machines," then "Calibration." The software will prompt you to load a plain piece of white printer paper onto a mat. Use a fresh mat if you have one, or at least a mat that hasn't lost its grip. A slipping mat will give you false results.
The machine will draw a test pattern, then cut it. You'll get a sheet with a square and a series of lines. The software asks you to compare the printed square to the cut square and identify which one matches best. The cuts might be offset to the left, right, up, or down. Pick the option that looks closest, and the machine adjusts.
Here's the part that trips everyone up: you might need to run this 2 or 3 times. The first pass gets you in the ballpark, the second pass fine-tunes it, and the third confirms. I tell my students to plan for 10 minutes total, not 5. Most of that time is loading and unloading the mat.
One thing I've learned the hard way: don't calibrate with a brand new blade. Use the blade you'll actually be cutting with. Blades sit at slightly different depths in their housings, and calibrating with one blade then switching to another can reintroduce the offset you just fixed.
What to do when calibration doesn't fix it
This is the part nobody talks about. Sometimes you calibrate perfectly, the test cut looks beautiful, and then your actual project still cuts off. That's not a calibration problem. That's a blade problem or a mat problem.
I've had a fine-point blade go dull mid-project, and the first sign was a cut that didn't quite finish. One buyer described the exact same failure mode, saying they needed "to use a razor blade to finish the cut" because their regular fine point blade was going dull. A dull blade drags instead of cuts, which throws off the alignment just like a miscalibrated machine.
The housing unit matters too. I bought my Maker second-hand without a blade or housing, and I learned quickly that aftermarket housings can be a toss-up. One buyer said it best: "I've learned to stick to Cricut housings, it seems using anything else can be a toss up." If you're using a third-party housing and seeing alignment issues, that might be your culprit, not the calibration.
Mats are the other suspect. A mat that's lost its grip lets the material shift mid-cut, which looks exactly like a calibration problem. I've seen students spend an hour recalibrating when the real fix was just swapping in a fresh mat.
The tools that make calibration easier
You don't need anything special to calibrate, but a few tools make the whole process less painful.
The weeder from the Cricut Basic Tool Set is essential for removing the test cut from the mat without tearing it. The test pattern is small and fiddly, and trying to peel it up with your fingers will give you a distorted view of how well the cut actually aligns. The weeder lifts the pieces cleanly so you can see the true offset.
I've had the same weeder for three years and it's still sharp. One buyer called it "excellent for removing intricate and small pieces of material," and I agree. It's the first tool I reach for after every calibration test.
For the test itself, I use the Nicapa 3-pack mats. They hold the paper firmly without turning removal into a wrestling match, which is exactly what you want during calibration. A mat that's too sticky will distort the paper slightly when you remove it, making the alignment look worse than it is. The Nicapa mats have the right amount of grip.
The honest bottom line
Calibration is a maintenance task, not a crisis. You'll need to do it every few months, or whenever you switch blade types, or after the machine takes a hard jolt. It takes 10 minutes, costs nothing, and solves the most common alignment complaint I hear from Maker owners.
If you calibrate and still see offset cuts, check your blade and your mat before you blame the machine. Nine times out of ten, it's one of those two. And if you're using a third-party housing unit, consider switching back to genuine Cricut. The price stings, but the consistency is worth it.
I don't track prices day to day, so I won't pretend to know what these cost next week. But I can tell you what they're worth. The Maker 3 is worth every dollar if you're cutting regularly. The Basic Tool Set is a no-brainer at any price under $25. And the Nicapa mats are the rare third-party product that actually beats the brand on value.
Choose the Maker 3 if you're building a shop or planning to cut a wide range of materials. Choose an Explore if you're strictly doing paper and vinyl and want to save $200. And whatever you do, don't let the calibration screen scare you. It's just a square and some lines, and now you know exactly what to do with them.