Most people who want to make stickers start by shopping for the wrong thing. They compare spec sheets, watch a dozen unboxing videos, and end up with a 13-inch machine, a pile of accessories, and a subscription they never planned for. The tool that actually decides whether your stickers sell is a compact vinyl cutter, one sharp blade, and a test cut you run before every new sheet of material.
I have cut through more than 200 rolls of vinyl in six years of running a sticker shop out of Nashville, and the machine is almost never the problem. Blade depth is the problem. Mat stickiness is the problem. The pressure setting you forgot to change when you swapped glossy permanent vinyl for a matte sheet you bought on a whim is the problem.
This guide is the setup workflow I use on any compact cutter, from placement to weeding, plus the software decisions that quietly cost you money. Then it covers the part nobody writes about: how to get the whole setup to a market without wrecking your back, your machine, or your weekend.
Why you should trust me
I ran an Etsy sticker and vinyl shop for six years while raising two kids, then turned it into a full-time business teaching craft classes on weekends. I own three Cricut machines: an old Explore, a Maker 3, and a borrowed competitor unit I keep around for comparison. I keep a notebook of blade types, pressure settings, and which materials lie about their thickness, because most materials do.
What that notebook taught me is boring and useful: blades dull faster than the packaging admits, mats are a consumable and a money pit, and most "machine problems" are blade problems. If you only want to cut 50 stickers a year, buy the least expensive machine that does the job and never open the paid tier of anyone's software.
How I picked and how I tested
I did not run these two items through a lab bench, and I am not going to pretend otherwise. What I can tell you is the criteria I use when a student asks what to buy.
For a cutter: cutting width first, because it decides what jobs you can take. A blade housing that lets you set depth by hand. A footprint that fits a real table. And a clear answer to one question, which is whether the machine drags you into a subscription. For the rolling gear: screw hardware included or not, wheel diameter, mounting hole spacing, and whether the wheels swivel.
The numbers I actually trust when I set up a machine are blade depth, test cut results, and the difference between a kiss cut and a die cut. Spec sheets do not sell stickers. Clean cuts do.
The gear you'll need before you start
You cannot learn pressure settings on a machine you have not bought. Start with the cutter, then think about how you will move it.
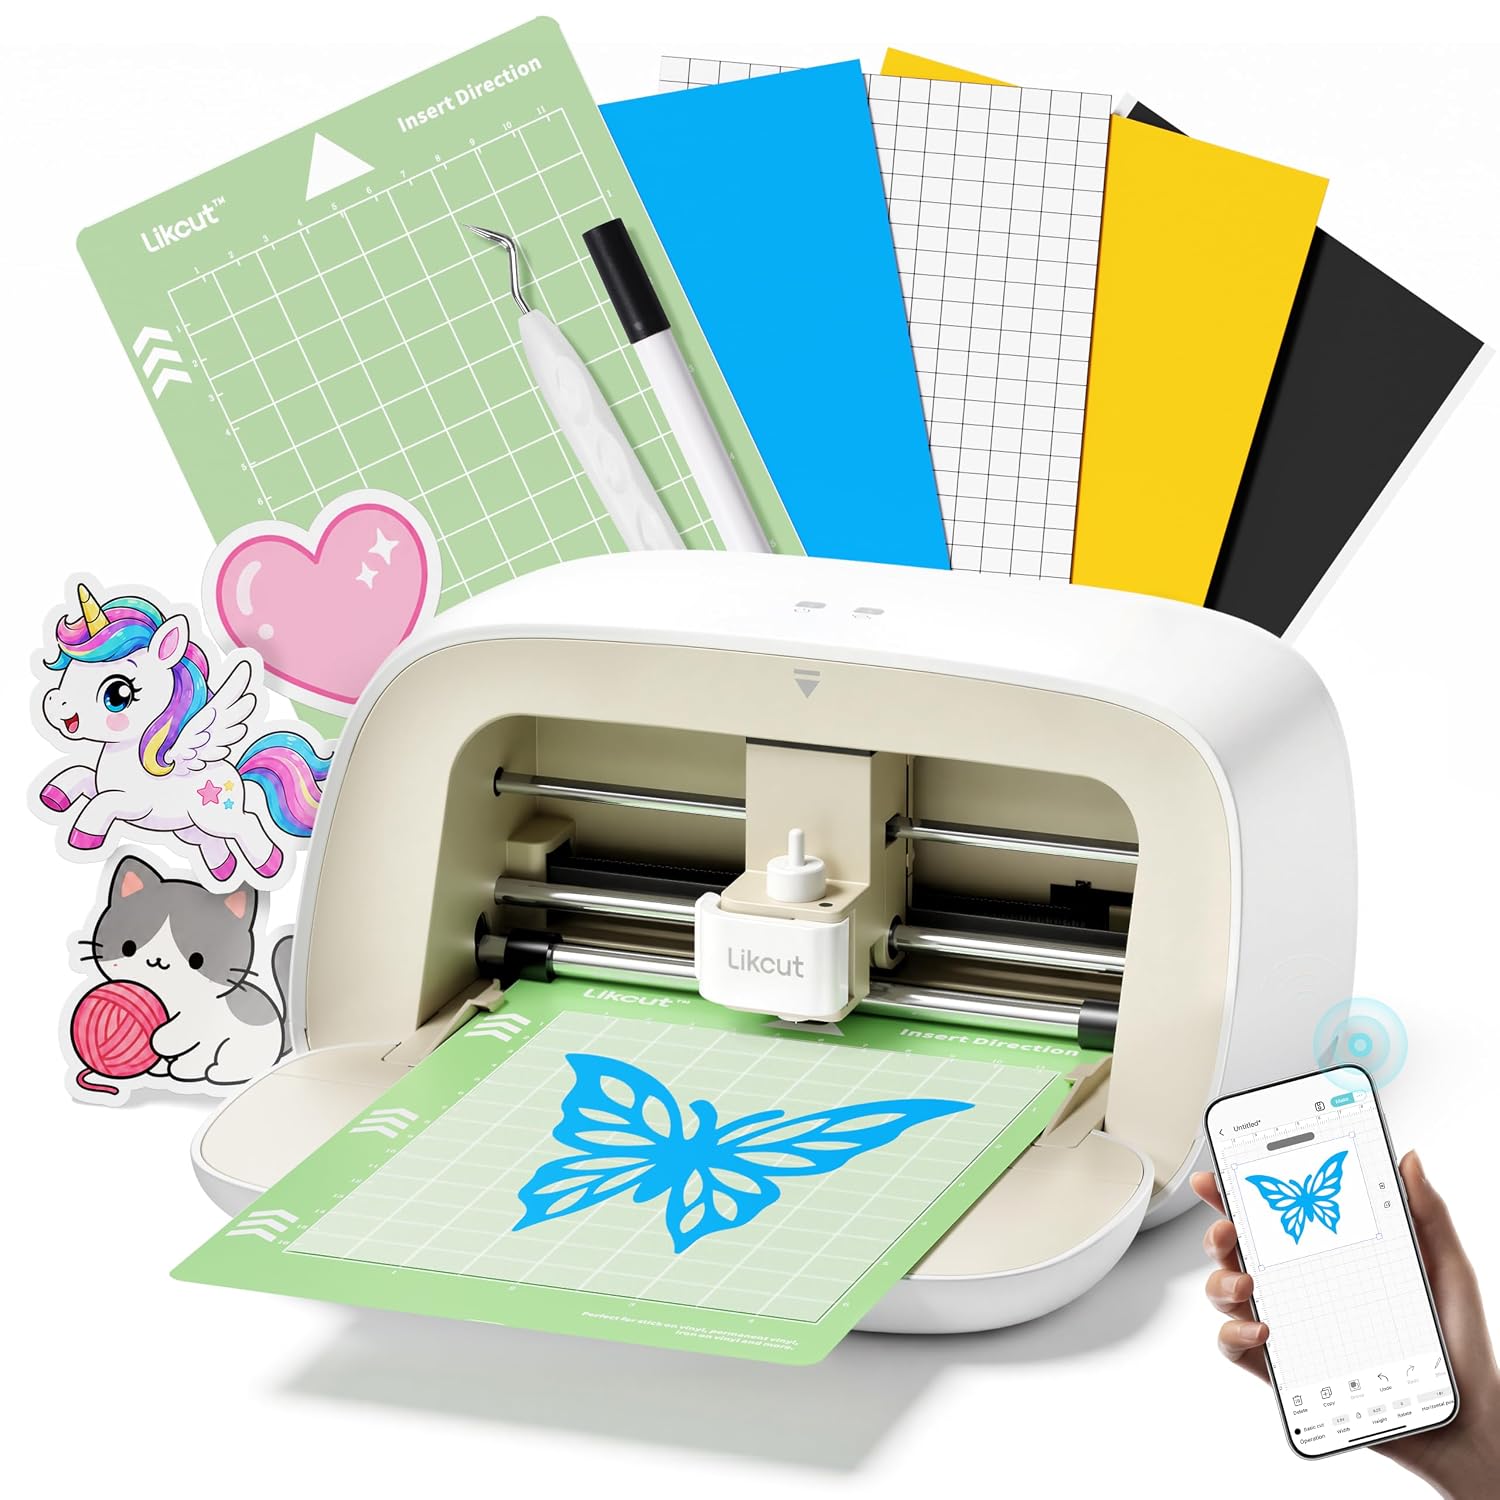
The machine: Likcut S501 Vinyl Cutter Machine, AI Sticker Cutter, 4.5" Wide Cutting
 Visit on Amazon →
The number to care about here is the 4.5-inch cutting width, because that is the number that decides your product line. Stickers, journal sheets, small decals, labels, and planner inserts all fit inside 4.5 inches. A T-shirt-size HTV design does not, and if that is your plan, this is the wrong class of machine.
The "AI sticker cutter" label tells you the pitch: this one is aimed at sticker work first, which is exactly the category where a narrow cutter makes sense. Before you order, check the listing for what software it pairs with and whether that software has a paid tier. That single detail matters more than any spec on the box.
Flaws but not dealbreakers: the narrow width means you will tile anything larger than a few inches. Tiling is a skill, not a dealbreaker, but it costs you time on every big job.
Anyone cutting sticker-scale work on a kitchen table, a dorm desk, or a market table will get more out of a machine this size than out of a 13-inch cutter they never learn.
The actual setup workflow
This is the part that transfers to any cutter you end up with.
Step one: give the machine a flat, stable home. Not a folding table that wobbles when someone walks past. Vibration shows up in your cuts as ragged edges, and you will blame the blade.
Step two: set blade depth by hand. Load the blade housing, then back the blade out until it barely clears the housing. The goal is a blade that cuts the vinyl and kisses the backing, not one that scores the backing paper. Too deep and you cut through the liner and dull the blade in one session.
Step three: run a test cut on every new material. Not every new roll, every new material. Glossy permanent, matte permanent, and a random sample from a mystery bundle all behave differently. Cut a one-inch square and a small circle, weed them, and look at the backing. If the backing is scored, back the blade off.
Step four: decide kiss cut or die cut before you cut. A kiss cut goes through the vinyl and leaves the backing intact, which is what you want for stickers sold on a sheet. A die cut goes all the way through, which is what you want for individual decals and HTV pieces you will peel off the mat. Cutting the wrong one wastes a whole sheet.
Step five: manage mat stickiness like the consumable it is. A mat that will not hold material ruins cuts that would otherwise be perfect. When a mat gets fuzzy and weak, retire it to light paper duty instead of fighting it. I buy third-party mats and have not noticed a difference worth the brand markup.
Step six: weed with the right angle and the right light. Pull the negative vinyl at a shallow angle, close to the surface, and keep the waste moving in one direction. Weeding is where beginners lose an hour, and it is almost always a lighting problem.
Step seven: settle your software before you settle your design. Learn the free tier of whatever software came with your machine before you pay for anything. Subscription pop-ups mid-project are the fastest way to lose an evening. Pay for a plan only when a specific feature you need sits behind the paywall, not because the software nagged you.
Step eight: keep a settings notebook. Blade type, material, pressure, result. This is the entire trick. Six years in, mine is the most valuable thing in the studio, and it cost a dollar.
Market day: how to make the setup roll
Selling in person changes your gear list. You are moving a cutter, a mat, a few rolls of vinyl, a cash box, and a display to a table and back, often across a parking lot. A rolling case or trolley is the difference between a fun Saturday and a chiropractor appointment.
The wheels are the first thing to fail on any rolling case. That is where this next item earns its place.
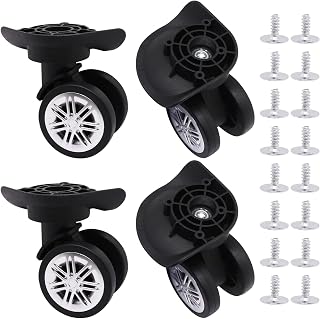
The road case: Luggage Wheels Replacement Kit, Suitcase Wheels Replacement with Screws, 360° Rotation Spinner Wheel, Mute Double Row Swivel Wheel for Luggage Suitcase Trolley (Black, 4PCS)
 Visit on Amazon →
Four swivel wheels with mounting screws, in black, sized for luggage and trolley cases. Swivel matters more than people expect on a market cart, because you steer a loaded case with the wheels, not with the handle.
Flaws but not dealbreakers: a wheel kit only works if the mounting holes line up with your case. Measure before you order, and keep the old screws as spares.
How to swap them without creating a second problem:
Step one: measure the old wheel. Diameter and width, in millimeters, with the case empty.
Step two: measure the mounting hole spacing on the case frame, center to center, and compare it to the new wheel's bracket.
Step three: work on one wheel at a time. Take a photo of the hardware arrangement before you pull the axle pin or screw. Reassembly goes faster with the photo than with memory.
Step four: install, then load and roll before you trust it. Put actual weight in the case, roll it across a rough sidewalk, and listen. A wobble at the bracket means a loose screw, not a bad wheel.
Anyone hauling a cutter and materials to weekend markets will get more value from four new wheels than from a new case.
The competition and why it lost
Cricut's lineup is the obvious comparison, and I say this as someone who uses it daily: the entry machines do the job, and the software subscription is the real product. The company sells a machine once and a subscription forever. The Maker is genuinely good, and its extra tools are for people who already know exactly what they need them for. For sticker-scale work, none of that is necessary, and the narrow machine in this guide does not ask you to fund a software roadmap.
The other competitor here is buying a whole new rolling case instead of new wheels. That works, it costs far more than four wheels, and it puts a functional case in the trash. If the frame is solid and only the wheels are shot, replace the wheels.
A note on what this guide is not: mats, blades, heat presses, and transfer tape all show up in other articles on this site. Today is the setup and portability guide.
What this all costs
Skip the dollar figures and think in cost per cut, because that is the number that decides whether your hobby pays for itself.
The machine is a one-time cost. Vinyl and mats are the recurring cost, and they are where beginners overspend: buying brand-name material for test cuts, replacing mats instead of retiring them, buying a new blade when the real problem was pressure. The subscription question is the other recurring cost, and the answer for a hobbyist cutting 50 stickers a year is almost always no.
The time math is the one nobody runs. A test cut takes 30 seconds. A wasted sheet of material costs you the sheet plus the design time plus the weeding you already did. Run the test cut every single time.
Set the machine up once, write the settings down, and keep the rolling case functional. That is the whole job.