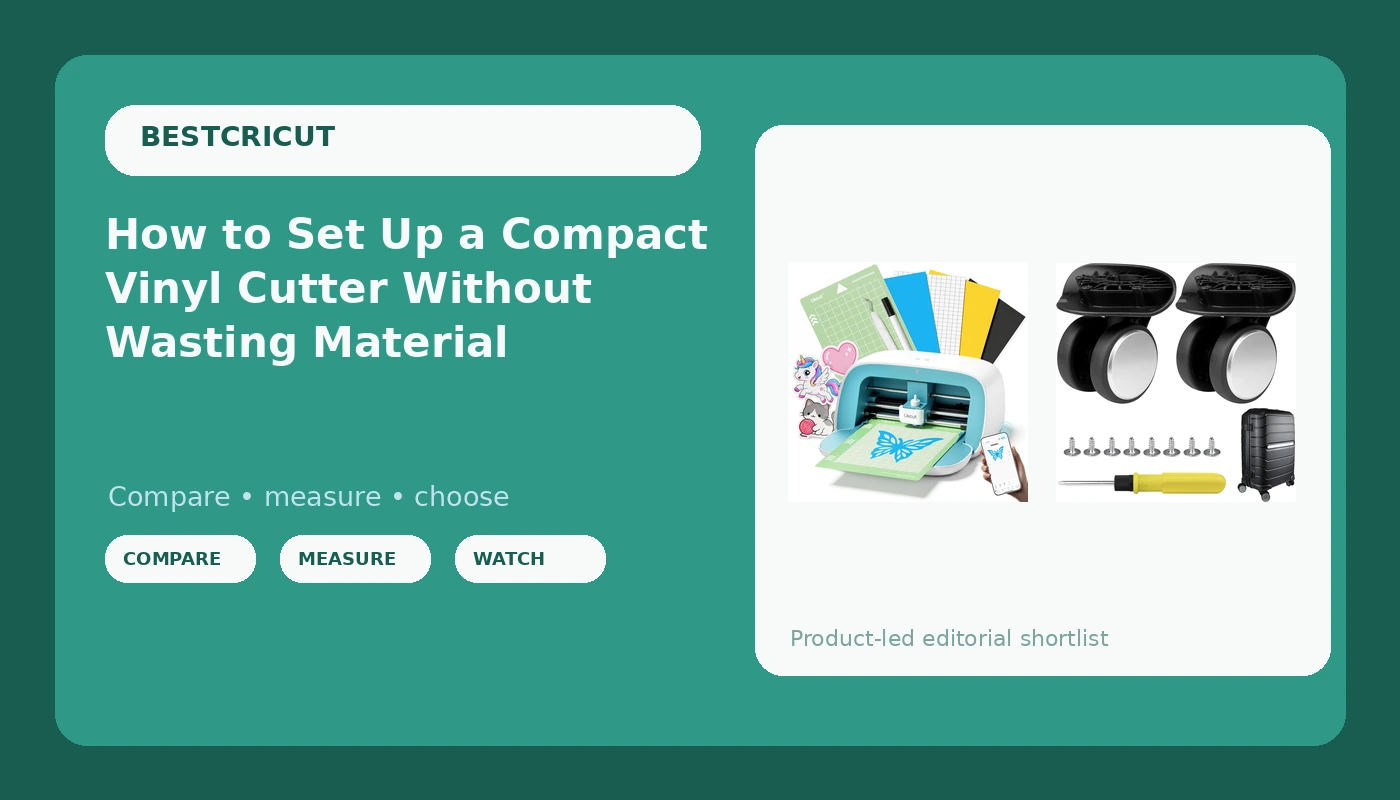
Most people who want to cut vinyl do not need a bigger machine. They need a smaller one, a fresh blade, and a routine that tells them the truth about pressure before they ruin a sheet of material. A compact vinyl cutter like the Likcut S501 will handle stickers, decals, name labels, and small HTV jobs on a kitchen table, and it will do it without a dedicated craft room or a monthly subscription.
I have run an Etsy sticker and vinyl shop out of Nashville for six years. It started as a side hustle between school runs and it is now a full-time business plus weekend craft classes. I have cut through more than 200 rolls of vinyl, killed dozens of mats, and filled a notebook with blade types, pressure settings, and the materials that lie about their thickness. The pattern in every beginner class is identical: they buy the machine, then they buy everything the store shelves next to it, then they quit after a sheet of material goes in the trash. The order matters more than the gear.
So here is the order I would actually do it in, whether you are setting up a compact cutter for the first time or you have one sitting in a box because the first cut came out ragged.
Why you should trust me
I have owned an old Explore and a Maker 3, and I keep a borrowed competitor unit around for comparison because students ask. I teach a weekend course on making profitable Etsy products without buying every accessory the big brands advertise, and the whole course rests on one idea: cost per cut. If a tool does not lower your cost per cut or raise your sellable output, it is decoration.
I also say the unpopular part out loud. The machine is a one-time sale and the software is the real product. Design Space is slow, it is cloud-dependent, and the paid tier is where the money lives. You can cut vinyl for years and never pay a subscription, as long as you are willing to bring your own files. And most "machine problems" that land in my inbox are blade problems. A dull blade drags, tears, and leaves fuzz, and the fix is a cheap blade, not a new machine.
How I picked, and what I could not verify
I have not put a blade through the Likcut S501 myself, so I am not going to write a paragraph pretending I did. What I can do is tell you what the listing states, what that number means for real projects, and the questions to ask before you spend anything.
The listing describes a 4.5 inch compact die cutting machine. That number is the whole story. Four and a half inches of cutting width is plenty for stickers, labels, decals, small monograms, and kid-size HTV designs. It is not enough for a shirt-back design or a 12 by 12 scrapbook page without tiling, which is a fussy process with visible seams. Decide your largest project first, then buy.
The other questions, all of which you can answer from the listing in two minutes: What blade does it take, and is that blade easy to reorder? Does it need a mat, and what size mat? Does the software require a subscription for basic cutting, or can you send your own file? If the answer to the last one is unclear, ask the seller before you order.
For the travel kit further down, I checked what it actually is: a two-pack of replacement wheels for the Samsonite Freeform hardside carry-on spinner. It is not a cutting accessory, and I will explain why it earned a spot anyway.
What you need on the table before the first cut
Not a haul. A cutter, a blade, material, a mat if your machine uses one, a weeding tool, transfer tape if you are making decals, and a cheap notebook. The notebook is the tool people skip and the one that saves the most material, because the only way to learn pressure is to write down what worked.
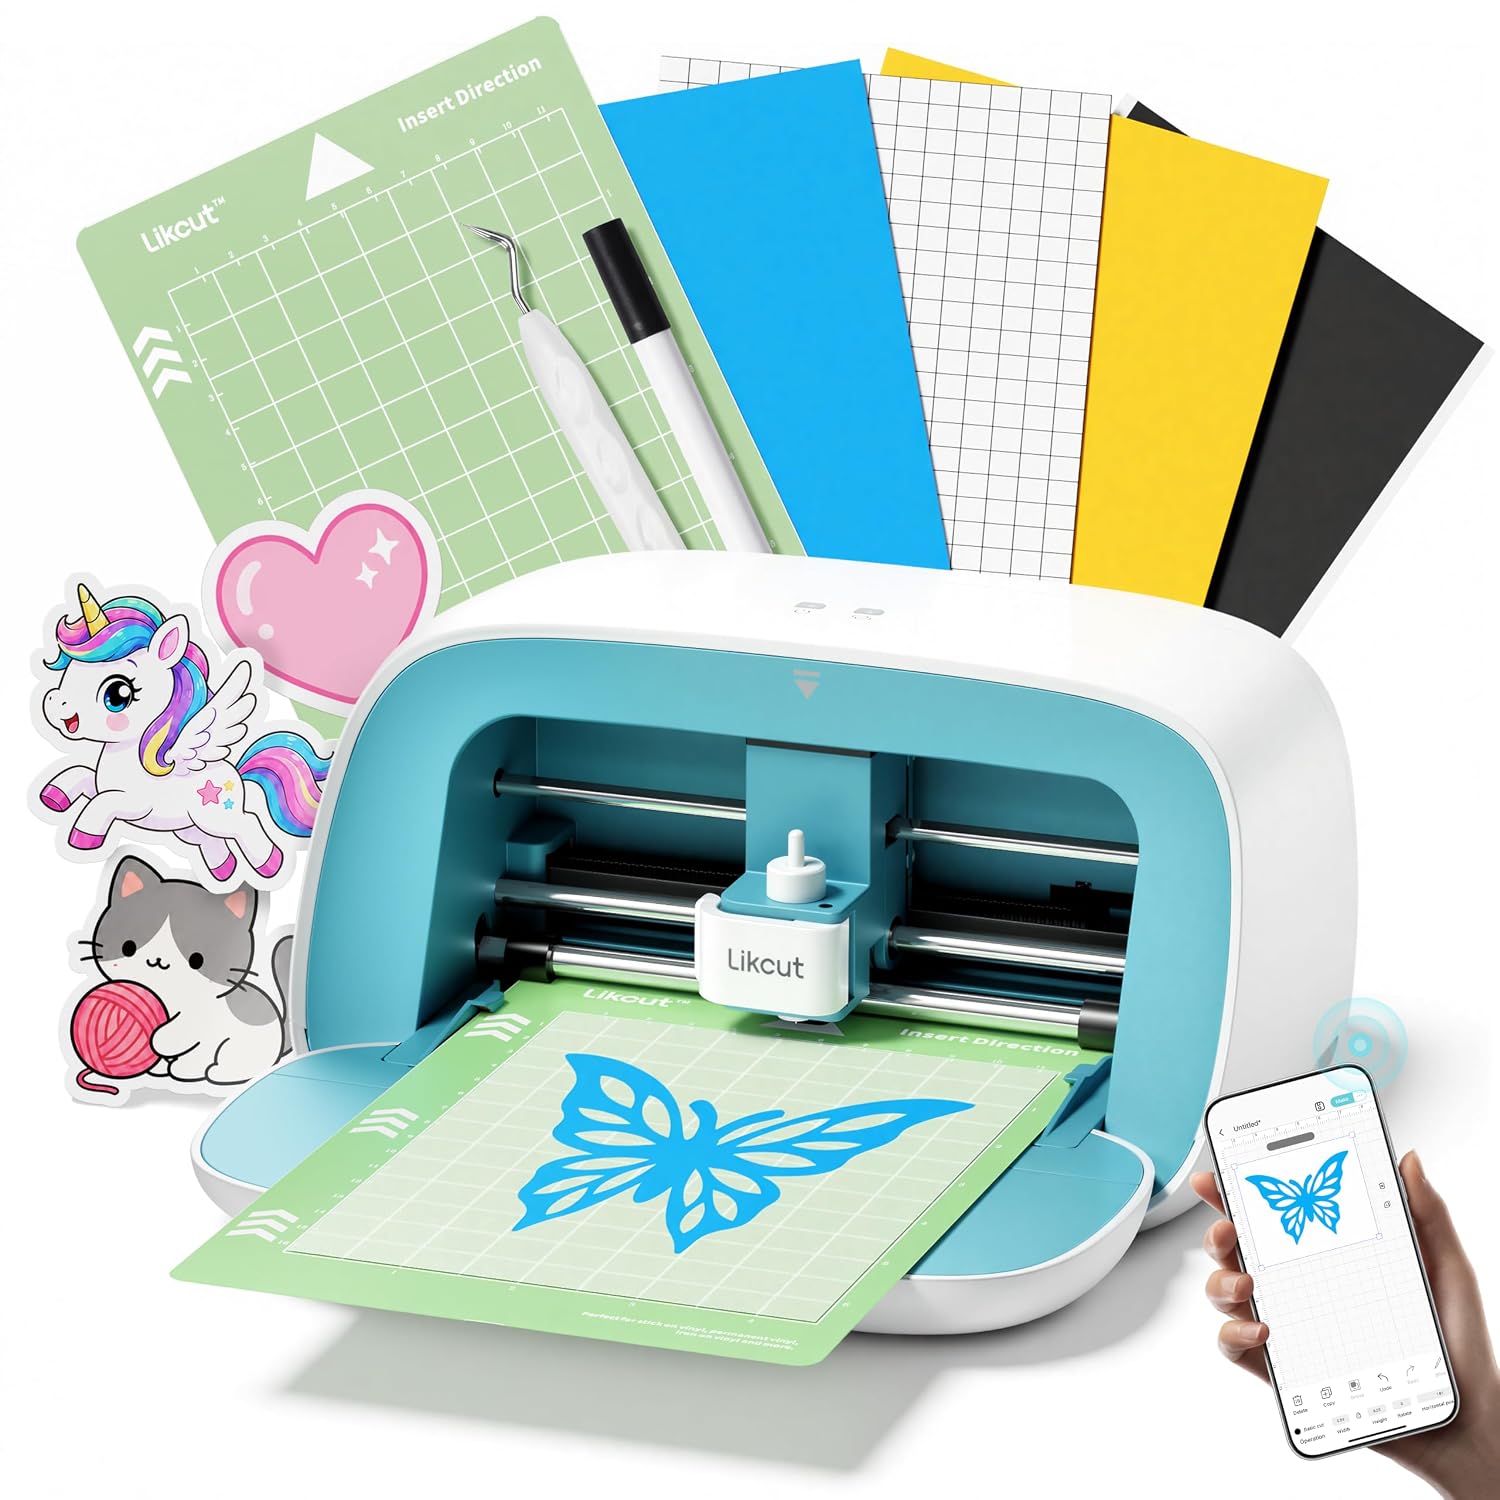
The starter machine: Likcut S501 Vinyl Cutter Machine, 4.5" Compact Die Cutting Machine
 Visit on Amazon →
This is the machine I would point a hobbyist at first, and the reason is the size, not the spec sheet. A compact cutter that lives on a shelf gets used. A big machine that needs a permanent table gets used twice and then becomes a surface for folding laundry. If your realistic output is stickers for a school fundraiser, labels for your pantry, a few HTV shirts for your own kids, and maybe a small Etsy listing, this class of machine covers all of it.
It is also the right machine if you want to learn the craft without learning a subscription. Vinyl cutting is not complicated. A blade moves, the material stays put, and pressure decides whether the cut goes through the vinyl or through the backing. Learning that on a small machine costs you far less material than learning it on a large one, because every test cut is smaller.
Flaws but not dealbreakers: The 4.5 inch width is the real limit. If you already know you want to cut full front shirt designs or 12 inch sheets, this is the wrong machine and no amount of technique will fix it. Smaller cutters also mean smaller mats, so you reload more often on a multi-piece job. And on any compact cutter, check the blade supply before you buy, because a machine with an awkward blade is a machine that sits idle.
Anyone cutting stickers, labels, small decals, and kid-size HTV, who wants a machine that fits in a cabinet, will be happy here.
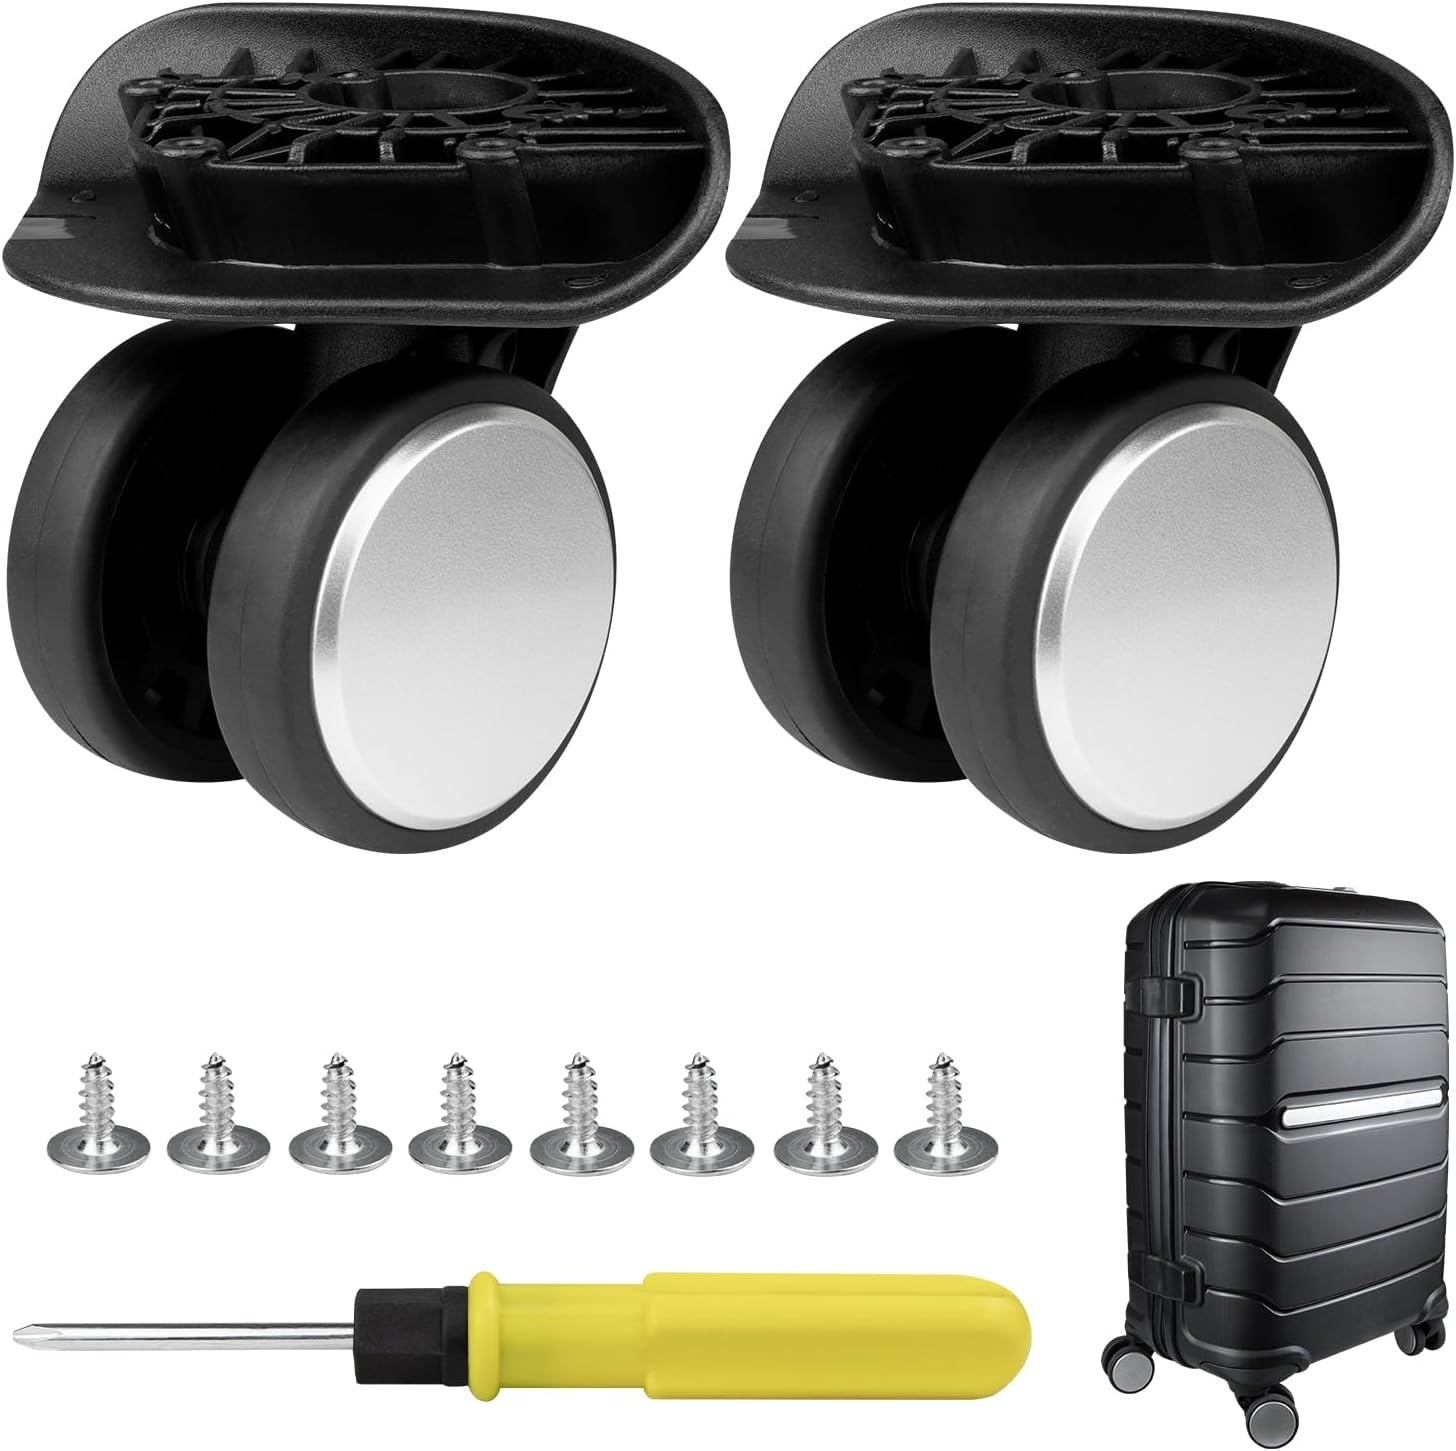
The travel fix: Wheels for Samsonite Freeform Hardside, Replacement Kit for Carry On Spinner Luggage (2 Pack)
 Visit on Amazon →
This is not a cutting tool, and I am not going to dress it up as one. It is a two-pack of replacement wheels for the Samsonite Freeform hardside carry-on spinner. It is in this guide because the moment you start teaching classes or selling at markets, your cutter becomes luggage. I haul a machine, a stack of mats, a roll bag, and a box of blanks to every class I teach, and the case takes the beating. Wheels are the first thing to fail on a hardside spinner, and a case that drags on two wheels is a case that ends up dropped on a curb.
Flaws but not dealbreakers: This fits one specific line of luggage, so match your model before ordering. The kit is a two-pack, so count what you actually need to replace rather than assuming one order covers the whole case. If you are not traveling with your machine yet, skip this entirely and come back when you book your first market.
Anyone who hauls a cutter and materials to classes, craft fairs, or a friend's kitchen will get the use out of it.
The actual workflow: from unboxing to a weeded cut
Here is the sequence. It works on any cutter, and it is designed to waste as little material as possible while you learn.
Step one: Choose the material before the design. Know what you are cutting, because vinyl, HTV, cardstock, and sticker paper all behave differently. Also know the width you can cut and design inside it. A design that is 5 inches wide on a 4.5 inch machine is a design you will redo.
Step two: Load a fresh blade and set it shallow. Start with less blade exposure than you think you need. Too little blade means a second pass. Too much blade means you cut through the backing and ruin the mat, which costs more than the vinyl.
Step three: Set pressure low and work up. Run a test cut on scrap. If the vinyl lifts cleanly and the backing is scored but not sliced through, you are done. If the cut is ragged, add pressure in small steps. Ragged edges at high pressure usually mean a dull blade, not a pressure problem.
Step four: Learn kiss cut versus die cut. A kiss cut goes through the vinyl and leaves the backing intact, which is what stickers need. A die cut goes through everything, which is what decals and HTV need. Same machine, same blade, different pressure and sometimes a different blade depth. Confusing these two is the number one reason beginners think their machine is broken.
Step five: Keep a test sheet notebook. Date, material brand, blade, pressure, result. Three lines per test. After a month you will have a personal settings guide that no blog can give you, including this one.
Step six: Weed in good light. Weeding is where a good cut becomes a bad sticker. Use a hook tool for tight counters and a straight pin for corners, and pull the waste at a low angle rather than straight up. If the vinyl tears while weeding, the cut was not deep enough.
Step seven: Apply. For decals, use transfer tape and a scraper so the design does not stretch. For HTV, follow the material's heat settings rather than your memory.
Step eight: Reset the station. Cap the blade, clean the mat, and log the cut. A clean mat and a covered blade are the two habits that separate a machine that lasts from a machine that gets replaced.
Where the subscription math goes wrong
The machine is a one-time cost. The software is the recurring one, and this is the part the beginner guides skip.
If you cut 50 stickers a year for your own family, you do not need a paid design tier. You need a free file, or a design you made yourself, or a design you drew in a free vector tool. If you sell, the math changes, but it changes based on your margin per item, not based on how the software looks in a demo. Do the math in this order: how many items do I sell per month, what is my profit per item, and does the subscription cost less than a small slice of that profit? If the answer is no, cancel it and keep cutting.
The same logic applies to accessories. Branded materials are fine and priced for convenience. Mats are consumables, and mine get replaced with third-party ones because I have never noticed a difference that shows up in a finished product. Blades are the one place I do not cheap out, because a dull blade costs more in wasted material than a good one costs to buy.
What I left out, and why
I own a Maker 3 and an old Explore, and I like the Maker. The extra tools on it are genuinely good, and they are also useless to you if you cannot name the project that needs them. Nobody needs a scoring wheel on day one.
I also left out full-size machines, bundle deals, and accessory kits. A bundle is a discount on things someone else decided you need. Buy the machine, buy one blade pack, buy one material you have a project for, and add from there. If you are cutting fewer than a few hundred items a year, the cheapest machine that fits your widest design is the correct machine.
What this all costs
I am not going to quote prices here, because listings move and a stale number is worse than no number. Check current Amazon price on the machine and on the wheel kit before you decide anything.
What I will give you is the shape of the math. There are three buckets: the one-time machine cost, the recurring consumables (blades, mats, material), and the optional software subscription. The first bucket you pay once. The second bucket scales with how much you cut, and it is the bucket where cheap blades quietly cost you the most. The third bucket is optional, and for a hobbyist it is usually zero.
Divide the machine cost by the number of cuts you honestly expect to make in two years. If that number comes out small, buy the machine and stop deliberating. If it comes out large, you either need a cheaper machine or a smaller plan.
The rest is repetition. Load, test, weed, apply, log. Do that twenty times and you will know more about your cutter than most people who have owned one for a year.