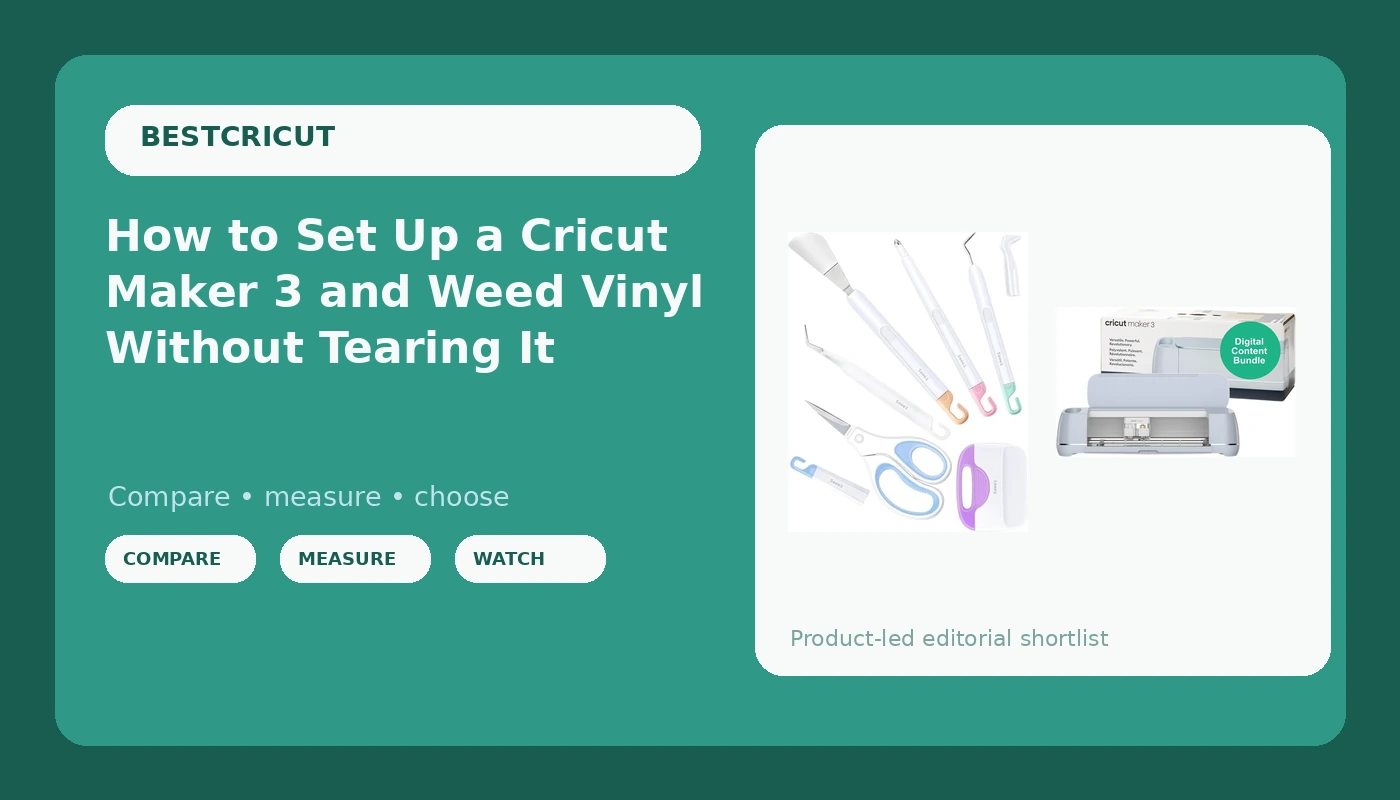
Most people who go looking for a Cricut Maker 3 setup guide are asking the wrong question first. They want to know which button to press in Design Space. The better first question is whether the machine in the box matches the work they actually plan to do, and whether they own the cheap hand tools that decide whether a finished decal looks clean or looks like a beginner made it.
I have run a vinyl and sticker shop out of Nashville for six years, and what started as an Etsy side hustle while my two kids were small turned into a full-time business with weekend craft classes attached. Along the way I have cut through more than 200 rolls of vinyl, killed a lot of blades, and watched a lot of students blame the machine for a problem that was really a dull blade or a tired mat.
So this is the order I walk a beginner through: choose the machine on purpose, buy the weeding tools before you buy anything else, then set up the cut. That sequence saves money, and it saves your first three projects from the trash can.
Why you should trust me
I keep three machines in the studio: an old Explore that refuses to die, a Maker 3, and a competitor unit I borrow whenever somebody asks me to compare hardware instead of argue about brands. I also keep a notebook of blade types, pressure settings, and the materials that lie about their thickness on the label.
The number I care about most is cost per cut. A craft machine is not a printer. You do not buy ink, you buy blades, mats, vinyl, and transfer tape, and those costs arrive a few weeks after the machine does. My whole approach to recommending gear is built around what keeps showing up on the card statement, not what looks good in a launch video.
I do not recommend accessories by default. Half of what gets pushed at checkout is optional, and the other half is a mat you could have cleaned instead of replaced.
How I picked the two products here
The filter was simple. Does this item remove a step from the workflow, or does it remove a purchase from next month's list? Two products passed.
The first is the machine itself, because everything else in the workflow hangs off it. The second is a basic weeding tool set, because weeding is where beginners fail most often, and it is the cheapest place to fix that failure.
I deliberately left out the giant accessory bundles, the specialty vinyl, and the subscription. You can add those later if a project demands them. You cannot add them back into your budget after you have spent the money on things you never opened.
Start with the machine, not the accessories
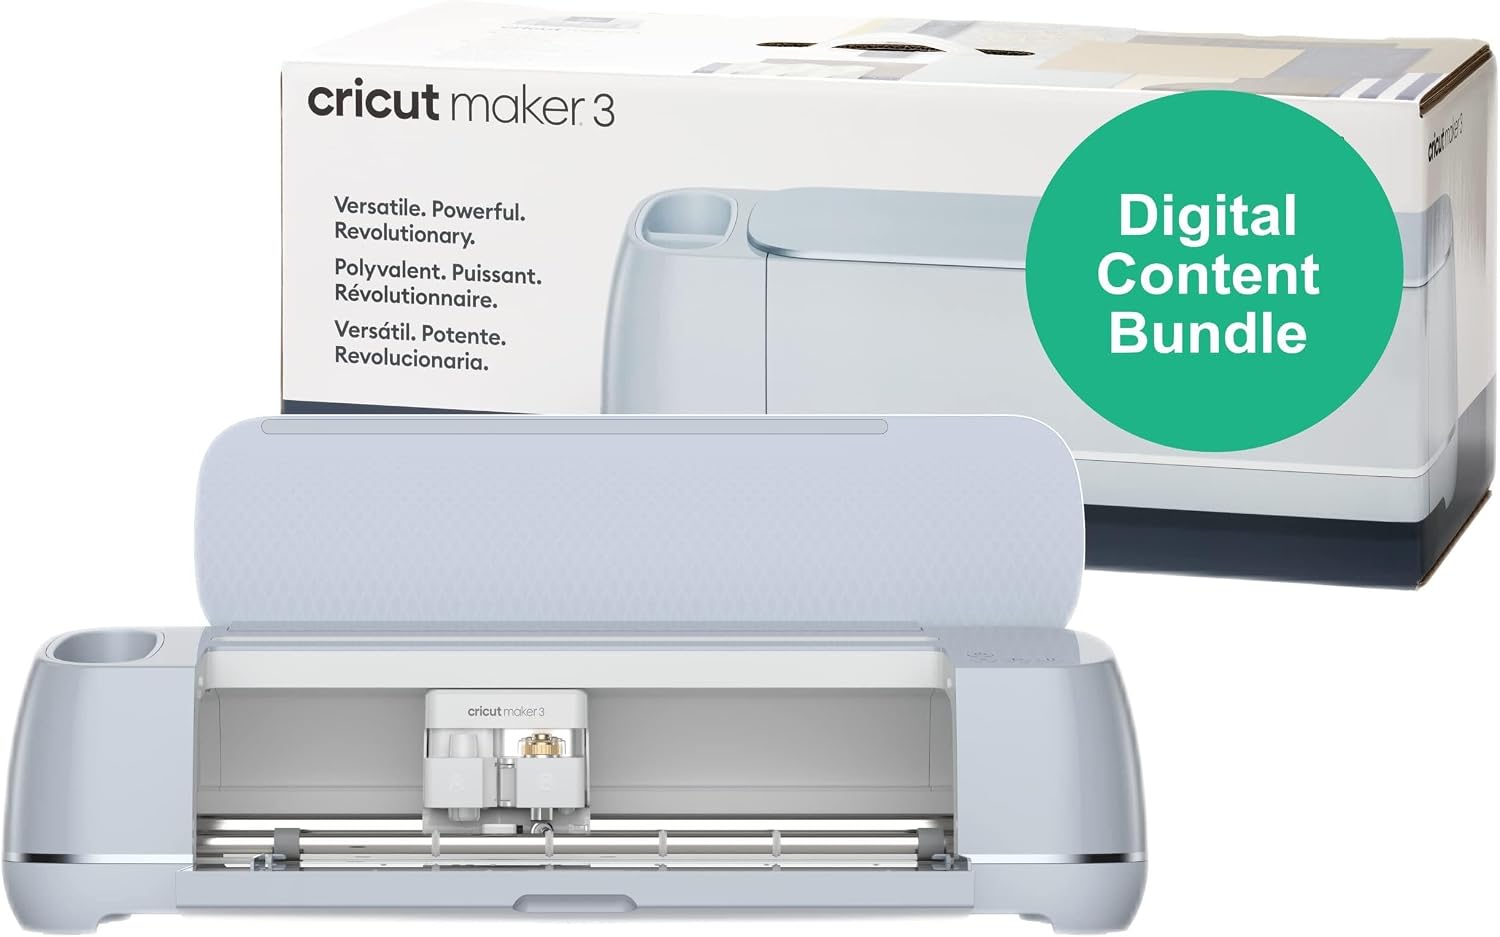
The machine: Cricut Maker 3 Smart Cutting Machine - Ultimate Digital Value Bundle | Includes 80 Images & 12 Fonts in Design App
 Visit on Amazon →
The Maker 3 sits at the top of the Cricut lineup, and the honest case for it is range. It is the model that takes the full set of blade housings and tool attachments, which makes it the one that grows with you if you move from vinyl into fabric, leather, balsa, or heavier paper. If your projects are stickers, decals, and HTV shirts, you are paying for headroom you may never use. I would rather say that out loud than sell you the biggest box on the shelf.
This particular listing is the digital value bundle, which adds a library of images and fonts to your Design Space account. That matters more than it sounds. A new owner with no design files and no design skills can lose the first weekend staring at an empty canvas. Starting with a built-in library means you can cut something real on day one instead of learning vector software first.
Who it is for: anyone who wants one machine to cover vinyl, paper, and fabric without upgrading in eighteen months, and anyone who would rather begin with a library of designs than build one from scratch.
Who should skip it: if you cut vinyl and paper only, and you already know you will never touch a rotary blade or a knife blade, a cheaper Cricut tier does the same job on the materials you actually use. Buy the machine that matches your materials, not the one with the longest feature list.
Flaws but not dealbreakers: the software is the real product here. Design Space is slow, it wants the cloud, and it will nudge you toward the paid tier at the worst possible moment. That is true of every Cricut machine, not just this one, so it is not a reason to pick a different brand. It is a reason to know what you are walking into.
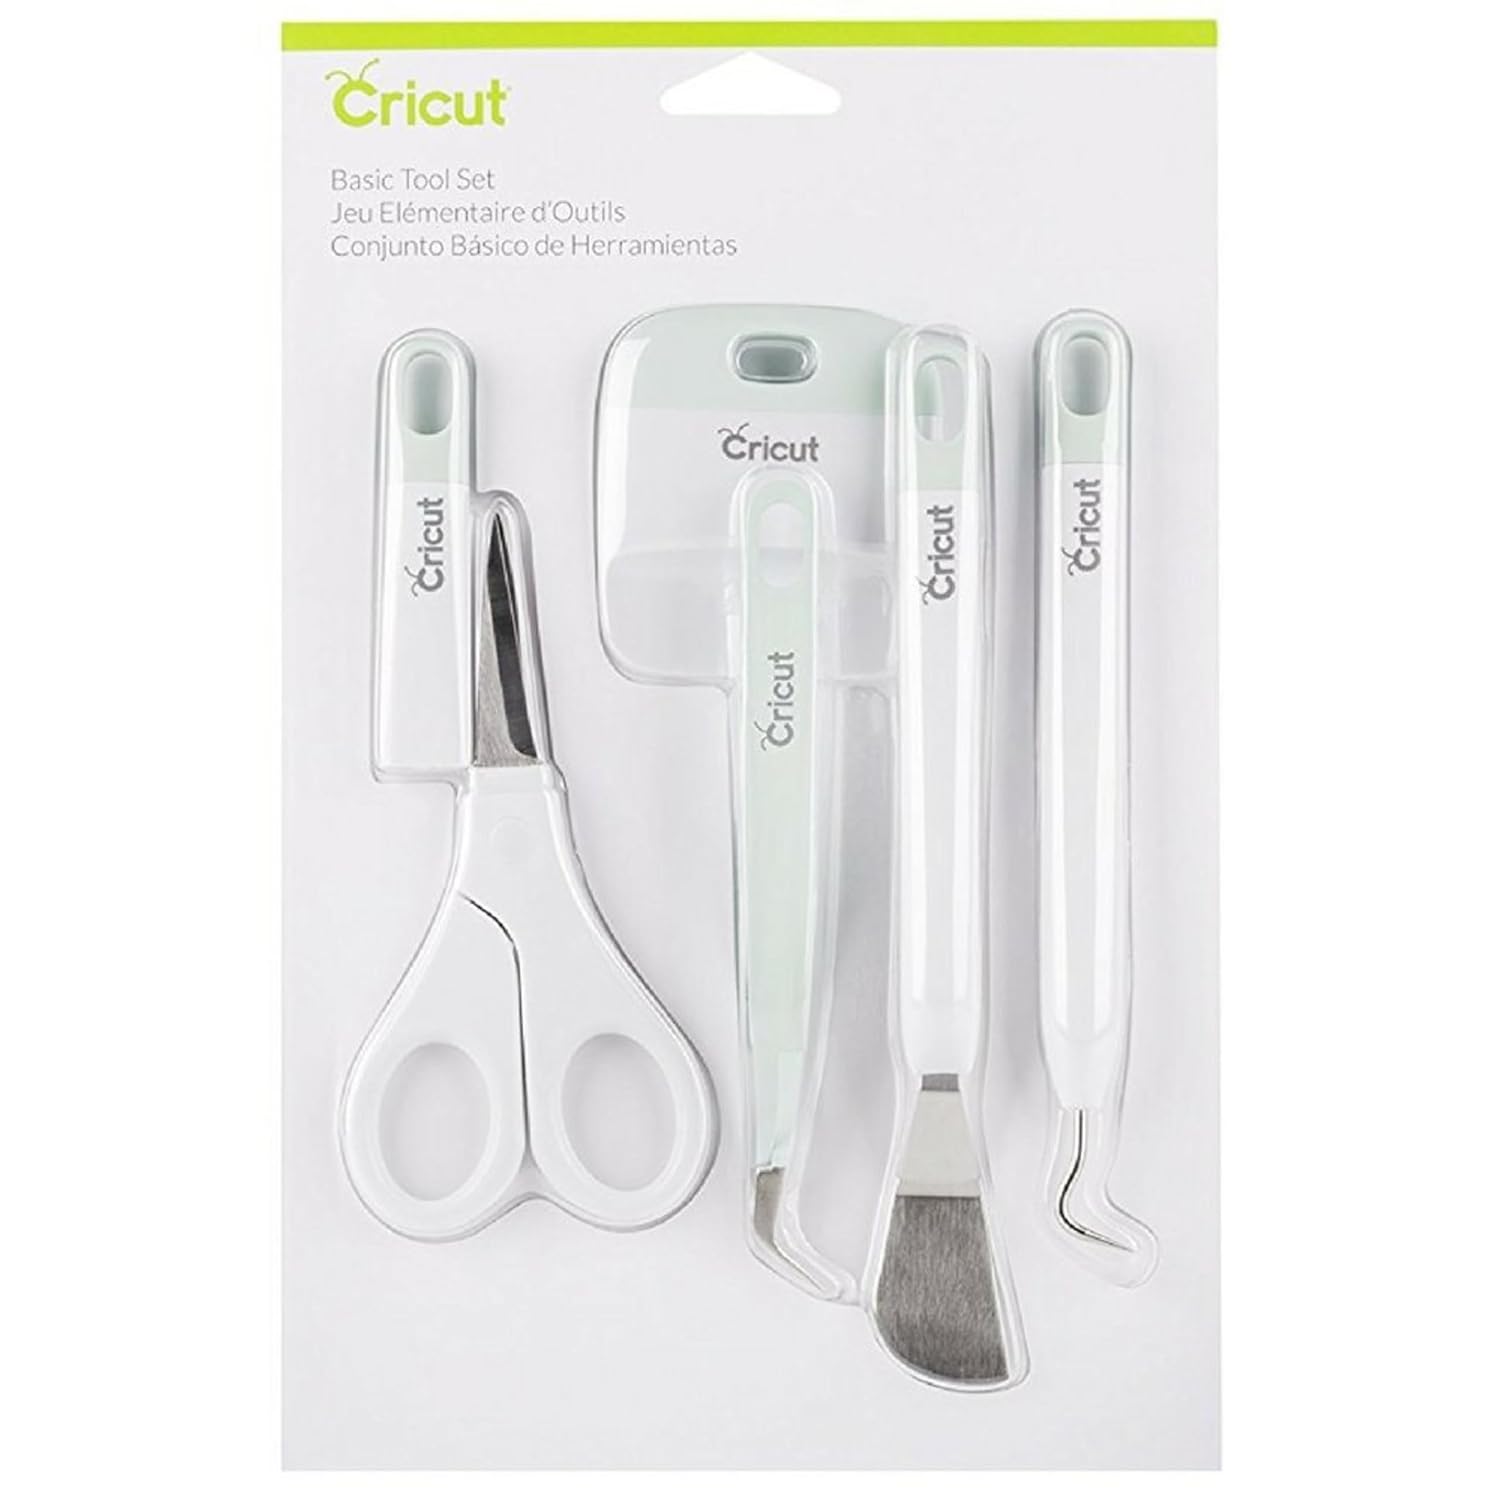
The weeding kit: Sooez Weeding Tools for Vinyl, 6PCS Basic Tools Set
 Visit on Amazon →
Weeding is the part of vinyl work that separates a clean decal from a mess, and it is almost entirely a hand tool job. A six piece basic set covers the small motions you repeat a hundred times on a single sheet: lifting a corner of vinyl off the backing, grabbing a tiny island of material that wants to stay stuck, scraping a mat clean, and poking out the bits that fold over on themselves.
You do not need a premium set. You need tools thin enough to get under the vinyl without gouging the backing paper, and you need them before your first cut, not after your first ruined project. This is the category where a cheap set is genuinely fine, because the worst case is a bent tip on a tool that costs less than a coffee.
Who it is for: every new Cricut owner, and honestly most experienced ones, because these things vanish into couch cushions and get borrowed by students and never come back.
Who should skip it: if you already own a full set of picks and tweezers, put the money toward a spare blade instead. You will need it sooner than you think.
Flaws but not dealbreakers: the pieces are lightweight, so if you are heavy handed with a weeding hook, you will eventually bend one. That is a tool problem, not a project problem.
The setup workflow, step by step
Now the actual job, in the order I teach it.
Step one: give yourself a real surface. A wobbly table or a machine sitting half on a mat and half on the counter will show up as ragged cuts on detailed designs. Vibration is the enemy of fine detail. Clear a flat space, put the machine square on it, and leave room behind the machine for the mat to pass through without falling off the edge.
Step two: install Design Space and register the machine. Do this before you cut anything. The free tier is enough to start, and I mean that. You do not need the subscription to cut your own files, and you do not need it for the images included with this bundle. The pop ups will suggest otherwise. Close them and keep working.
Step three: pick the mat and check its stickiness. For adhesive vinyl and most paper, a standard grip mat is the default. Press your palm flat on the mat. If it barely grabs, it is tired. Wash it with warm water and a drop of dish soap, let it air dry, and the tack comes back for a while. Mats are a consumable, not a one time purchase, and treating them as reusable for as long as possible is how you keep cost per cut down.
Step four: load the material flat. Lay the vinyl on the mat and burnish it down with a scraper, working from the center outward. Any bubble you leave now becomes a spot where the blade lifts instead of cuts. If the material is thin and curly, tape the edges down with painter's tape. It feels fussy. It is faster than recutting.
Step five: set the material in Design Space, and never trust a default. Use the custom material list and pick the closest match. Off brand vinyl and HTV are usually a little different from the brand name version, and the preset was written for the brand name version. If you switch to an off brand, plan to adjust pressure by hand.
Step six: check the blade before you blame the machine. Load the fine point blade housing and make sure it is seated all the way down. Then look at the tip. Almost every "my machine stopped cutting" message I get is a blade that has gone dull, or a housing that was never locked in. Blades dull faster than the packaging admits.
Step seven: run a test cut. Always. Cut a small square in the corner of the sheet before you cut the real design. Peel it. If the vinyl lifts cleanly off the backing, you are set. If it tears the backing paper, you are cutting too deep. If it does not separate, you are cutting too shallow. Two minutes here saves a whole sheet.
Step eight: cut, then weed, then apply. Cut the design, unload the mat, and flip the material over so the backing faces up. Peel the mat away from the vinyl, not the vinyl away from the mat. That one habit prevents most of the curling people complain about.
Weeding without tearing your design
Weeding is where a project either comes together or falls apart, and it is a skill, not a talent.
Work under bright light and pull at a low angle, close to the backing. Lifting straight up stretches the vinyl and leaves strings. Use the hook tool for the big fields of negative space and the tweezers for the small islands inside letters. If a letter has a closed loop, that island has to come out or the design will look wrong on the shirt.
Keep the negative space. It is free practice material for your next test cut, and it is also the thing that tells you whether your blade is still sharp.
If a design is intricate, add weeding lines in Design Space before you cut. It cuts the waste into manageable strips instead of one giant sheet, and it turns a twenty minute weeding job into a five minute one.
For HTV, weed while the carrier sheet is still warm from the machine if your material allows it. Warm vinyl separates more easily than cold vinyl, and the difference is noticeable on small lettering.
Mistakes that cost real money
The checkout bundle is the first one. Materials you have not chosen for a specific project tend to sit in a drawer. Buy vinyl for the project in front of you.
Assuming the subscription is mandatory is the second. It is not. It is convenient, and if you sell products regularly it may pay for itself, but a hobbyist cutting fifty stickers a year can stay on the free tier and never miss it.
Buying name brand consumables by reflex is the third. Blades, mats, and transfer tape are all worth shopping around. The machine is where the engineering lives. The rest is supplies.
Skipping the test cut is the fourth, and it is the one that costs the most, because a bad cut usually means a whole sheet of material and twenty minutes of your evening.
What this all costs
There is no printed price in this guide because prices move, so check the current Amazon price on both listings before you decide.
The way to think about it: the machine is a one time cost, and the tools are a rounding error next to it. Everything after that is consumables, and consumables are where crafters either make money or bleed it. A blade that lasts twice as long because you stopped forcing it through the wrong material setting is a real saving. A mat that gets washed instead of replaced is a real saving. A weeding set that keeps you from ruining three sheets while you learn is a real saving.
Do the test cut. Learn the weeding. Set the material by hand when the preset lies to you.
That is the whole job. The machine was built to do this. Let it.