Most people buy a cutting machine to make one thing: a shirt with a name on it. Cricut Joy 2 HTV projects are the cheapest honest version of that plan. The machine is small, the material is cheap, and the whole job fits on a kitchen table in under an hour.
I ran a vinyl and sticker shop on Etsy for six years before weekend craft classes became the main event, and I have cut through more than 200 rolls of material since. Most of that was heat transfer vinyl. I have watched a lot of beginners ruin their first roll because nobody told them to mirror the design before they cut it.
This is the workflow I hand out in class. Two purchases, eight steps, and a short list of the mistakes that cost people the most material.
Why you should trust me
I am not a reviewer who unboxes things for a living. I am the person people call when their cut came out ragged.
My bench has an old Explore and a Maker 3 on it, plus a competitor unit I borrowed for comparison. I keep a notebook of blade types, pressure settings, and which materials lie about their thickness. The classes I teach are built around one idea: making things you can sell without buying every accessory Cricut advertises.
That shapes everything below. Cricut sells a machine once and a subscription forever, and the machine is the bait. My job here is to keep you on the cheap side of that line.
How I picked and how I tested
Honest version first: I do not own a Joy 2. I have cut this exact vinyl on bigger machines for years, and students bring the small Cricut machines into class every weekend, so I know what breaks, what confuses people, and what ends up in a drawer by month two.
What I looked at instead of a spec sheet:
- Does the machine fit the actual job? Most HTV work is names, numbers, monograms, and small logos. That is a small-format job, and a small-format machine is enough for it.
- Does the material lock you in? Some vinyls only behave with one brand's settings. Siser publishes settings for Cricut, Silhouette, and other cutters, and the roll is certified for children's products, which matters if you sell.
- What does the first month really cost? Machine, material, spare blade. Not a subscription, not a box of tools you will use once.
- What fails first? Blades. Blades dull faster than the packaging admits, and most "machine problems" I get asked about turn out to be blade problems. Any recommendation that ignores that is useless.
I am not going to quote star ratings or review counts at you. Read those on the listing yourself. What I can tell you is which of these two items earns its place in a beginner's kit, and which parts of the setup you can skip entirely.
What you need before the first cut
Two things: a machine and a roll of heat transfer vinyl. That is the whole shopping list for a first shirt. Everything else on the Cricut accessory wall is optional, and some of it is optional forever.
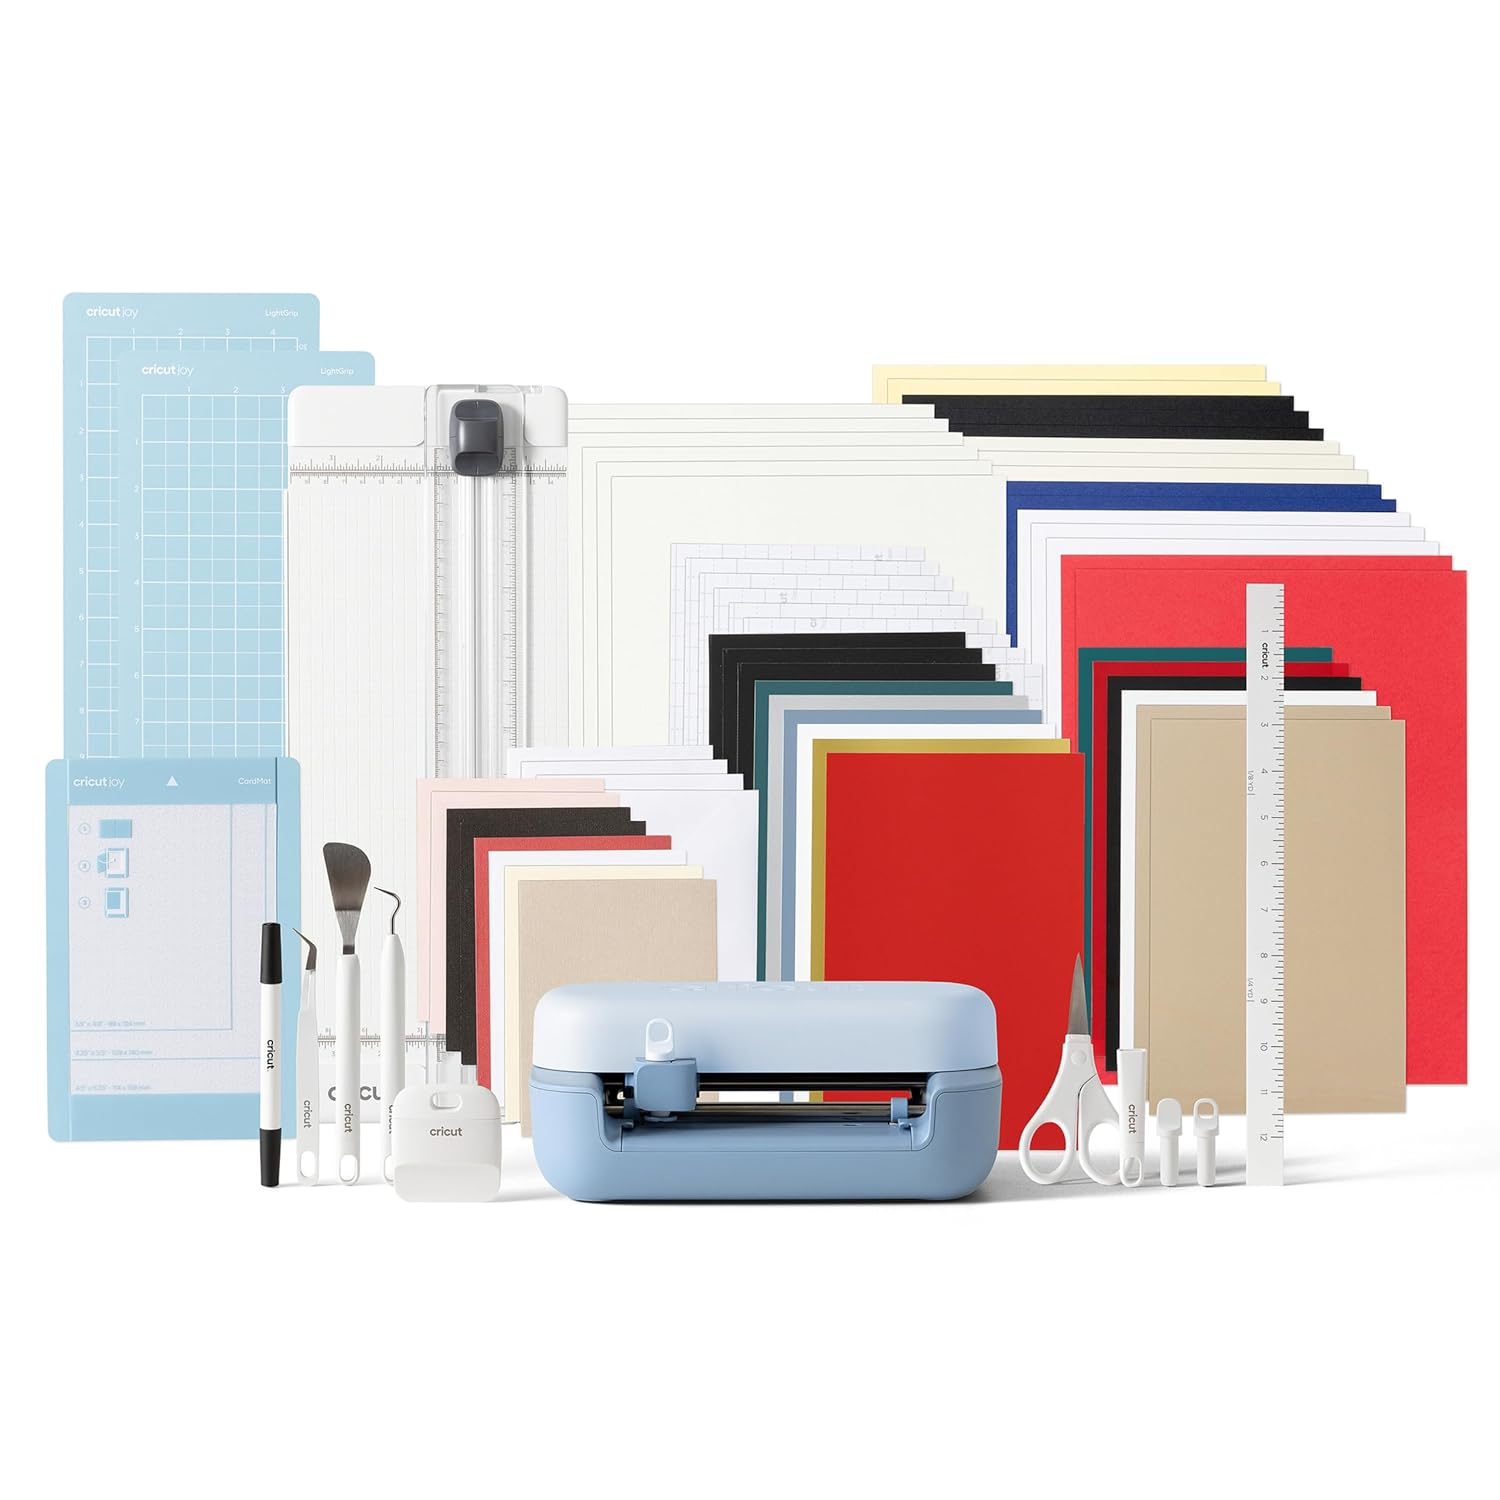
The machine: Cricut Joy™ 2 + Deluxe Bundle, Blue
 Visit on Amazon →
This is the machine I point a beginner at when the goal is shirts, decals, and labels rather than a production business. It is the small one in the lineup, which is a feature and not a compromise if your designs are names and short phrases. It lives on a shelf, it does not demand a dedicated table, and it is the machine students actually keep using after the class ends.
Check current Amazon price before you decide, and read the listing for exactly what the deluxe bundle includes, because bundle contents change between releases and I am not going to guess at them for you.
The honest tradeoff is size. You will trim your vinyl down and work in smaller pieces than someone running a full-width machine, which means more trimming and more mat loading. If your plan is large back-of-jacket graphics, this is the wrong machine, and I would rather tell you that now than after you order.
Two more things worth knowing. First, the Joy line pairs with Design Space, which is free, and with Cricut Access, which is not. You do not need the paid tier to cut your own artwork. Second, the blade is a consumable. Buy spares early rather than mid-project.
Flaws but not dealbreakers: The smaller working area means more trimming and more reloading. Annoying, not disqualifying.
Beginners, gift buyers, and anyone making shirts for a family or a small team will get the most out of this one.
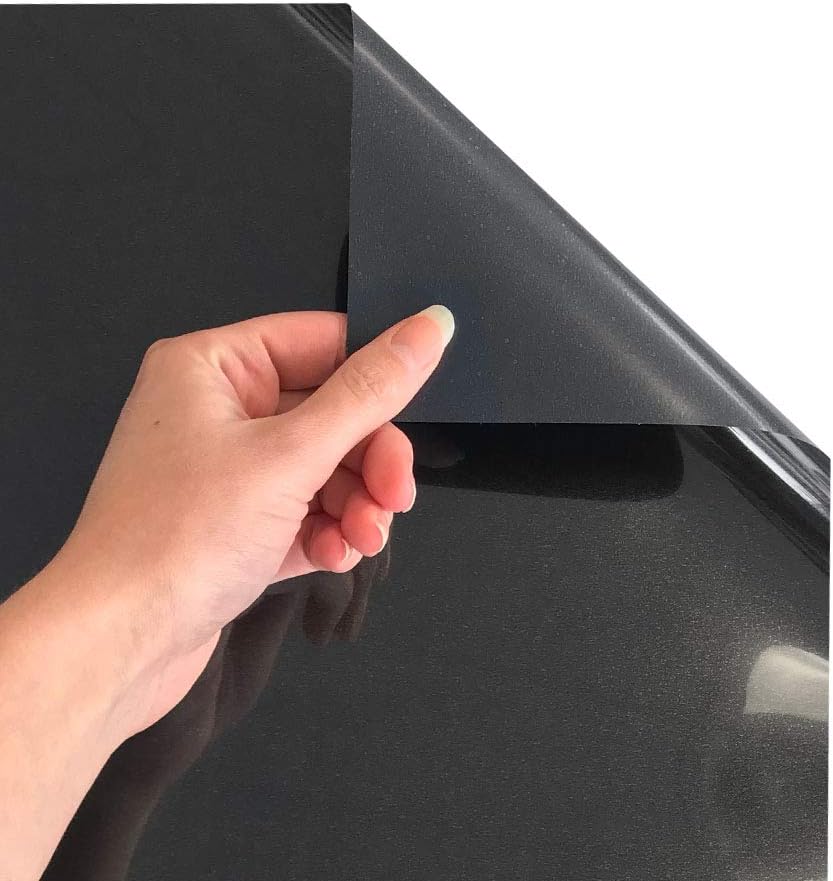
The material: Siser EasyWeed Heat Transfer Vinyl 11.8" x 5ft Roll (Black) - - Compatible, Cricut, Silhouette and Other Craft/Professional Cutters - CPSIA Certified
 Visit on Amazon →
This is the roll I buy and the one I tell students to start with. It is 11.8 inches wide and 5 feet long, so you trim a piece to fit your mat and keep the rest rolled for the next job. It is CPSIA certified, which is the part that matters if you sell anything that touches a child: kids' shirts, onesies, school fundraiser gear. It is also listed as compatible with Cricut, Silhouette, and other cutters, which tells you the material is not going to fight your machine's settings.
Check current Amazon price. One roll in one color is the honest starting point, and black goes with everything while hiding weeding mistakes better than white does.
The thing nobody tells beginners is that the roll will outlast the shirt. Five feet is a lot of names, so if you are buying your first roll expecting to use it up on a single project, you will be surprised.
Flaws but not dealbreakers: One roll is one color. Three-color team shirts mean three rolls, and that adds up faster than the machine did.
Anyone making wearables, from a first onesie to a hundred fundraiser shirts, should start here.
The actual workflow
Eight steps. None of them are hard. Skipping step two is what costs people money.
Step one: pick a design that fits your mat. Measure the mat you actually own before you design anything, then keep the artwork inside that area with a little margin around it. Designing to the edge of the mat means the blade runs off the material and you start over.
Step two: mirror it. HTV is cut from the back of the material. Every design has to be mirrored before cutting, and Design Space has a toggle for exactly this. If the text reads correctly on your screen, it will read backwards on the shirt. This is the single most common beginner mistake and the most expensive one.
Step three: test cut on scrap. Cut a small square first. If the blade slices the vinyl and leaves the carrier sheet intact, you are ready. If it drags, tears, or cuts through the carrier, change the blade before you cut the real design. Do not fix a dull blade with more pressure. That is how you get a shredded design and a scored mat.
Step four: load the material carrier-side down. The shiny carrier sheet goes against the mat, with the vinyl facing up toward the blade. Load it backwards and you cut the carrier instead of the vinyl, and the whole piece is trash.
Step five: weed. Pull the negative space away from the design, not the design away from the negative space. A hook and a pair of tweezers handle the inside of letters. Work slowly on small text; rushing here is what turns a clean cut into a stretched mess.
Step six: preheat the garment. A few passes over the spot drives off moisture and wrinkles. Skip this and the vinyl can lift at the edges later, which is the failure people blame on the material.
Step seven: press and peel by the chart. Follow the application chart that comes with the roll, not a random blog post and not a comment thread. Siser prints the temperature, the time, and the peel type on the packaging, and those are the numbers the material was engineered around. A household iron works in a pinch if you press hard on a firm surface, but a press is more consistent.
Step eight: wash it inside out. Give the shirt a day before the first wash, then wash inside out and skip the dryer's high heat. Most HTV that "failed" was washed hot and tumbled dry.
Where beginners lose money
- Cranking pressure instead of replacing the blade. A new blade is cheap. A ruined design plus a scored mat is not.
- Buying Cricut-brand everything. Cricut materials are fine and priced for convenience. HTV, mats, and blades are all better bought elsewhere, and this roll is the proof.
- Buying the accessory bundle twice. Weeding kits, brayers, and extra tools are useful once you know which ones you reach for. Buy them after your fifth project, not your first.
- Opening the paid design tier on day one. More on that below.
- Not keeping a settings notebook. Write down what worked. Material thickness varies, and your memory will not.
The subscription question
Design Space is free. Cricut Access is the paid tier, and it is the actual product Cricut would like you to keep paying for. Here is the math that matters: a machine is a one-time purchase, a subscription is not, and a hobby that produces fifty shirts a year does not need either the paid tier or the accessory catalog that gets pushed alongside it.
You can upload your own artwork and cut it without paying anything beyond the machine and the material. If your plan is names, numbers, and simple shapes, you can build those from system fonts and basic shapes and never touch the paid library. My rule for students: stay on the free tier until you hit a specific design you cannot make yourself. Most people never hit it.
Watch for the upsell prompts mid-project. They show up at the worst time, and clicking through out of impatience is how a free account becomes a recurring charge.
What I left off the list
There is a whole wall of accessories I did not put in this article, and that was deliberate. Transfer tape, extra mats, a brayer, a second blade housing, specialty vinyl for one project you saw online. None of it is required to cut and press a name onto a shirt, and every one of those purchases is easier to judge after you have made a few things and know what annoys you.
If you already own a full-size machine, you do not need this machine. Buy the roll, use the cutter on your bench, and skip straight to step two.
The bottom line
A small machine, a roll of black HTV, and one evening gets you a finished wearable. The workflow above is the same one I teach in class, and the only step people skip is the one that matters most: mirror the design.
Buy the material before you buy anything else. It is the cheapest part of this hobby and the one that teaches you the most about your machine. Then cut a test square, trust the chart on the packaging, and press something you will actually wear.