Most people buy a Cricut Joy because it is small and cheap, then find out the machine was never the expensive part. A Cricut Joy setup is really three purchases stacked on top of each other: the cutter, the materials, and the software tier Cricut would very much like you to subscribe to. Only one of those three has to come from Cricut, and it is not the one the company advertises hardest.
I ran a sticker and vinyl shop on Etsy for six years while raising two kids, and I teach weekend craft classes in Nashville to people who show up with a brand new machine and a bag of accessories they will never touch. I have cut through more than 200 rolls of vinyl and worn out more mats than I want to count. I keep a notebook of blade types, pressure settings, and which materials lie about their thickness.
This is the setup order I use in class. Not the unboxing order. The order that stops you from buying a card mat before you have made a single card.
Why you should trust me
I own an old Explore, a Maker 3, and I have borrowed enough competitor units to know what the hardware comparison actually looks like when you stop reading spec sheets. Six years of Etsy orders taught me cost per cut the hard way: every wasted sheet of vinyl is margin gone, and every dull blade is a ruined order with a customer waiting on it. I teach a course on making profitable Etsy products without buying every accessory Cricut advertises, and the first thing I do in that course is take the accessory catalog away from students. I do not sell SVG files and I do not take money from any brand. The Joy in my class kit has been dropped on a church floor twice and it still cuts.
How I picked and how I tested
I am not going to pretend I ran a lab test on the two units below. I do not have these in my house right now. What I can tell you is exactly what I check when a student brings a machine to class, and that checklist is how I ranked them.
The test sheet is always the same: small circles for a kiss cut, a square for a die cut, and a short line of text in a thin script font. Thin script is the honest test. Any machine cuts a fat block letter. Thin script shows you whether the blade is seated, whether the pressure is right, and whether the mat is holding the material flat.
Blade life I measure in cuts, not in months. A blade that has made 300 cuts through cardstock is not the same blade as one that has made 300 cuts through vinyl, and the packaging never tells you that. Mat stickiness I measure the same way: how many sheets before the corners start lifting.
On software, the question is not whether Design Space works. It does. The question is how much of it you need to pay for, and for labels, cards, and basic vinyl the answer is none of it. The paid tier buys you the image library and the font library. If you are cutting your own designs or free files, you can stay on the free tier for years.
The numbers I actually care about when I advise a beginner: cost per cut, cost per mat, and how many projects it takes before the subscription pays for itself. For a hobbyist cutting 50 stickers a year, it never does.
The two machines worth starting on
There are only two entry points I recommend to students, and they are the same machine twice: the used original, and the current bundle. Everything else in the lineup is a price ladder to upsell you.
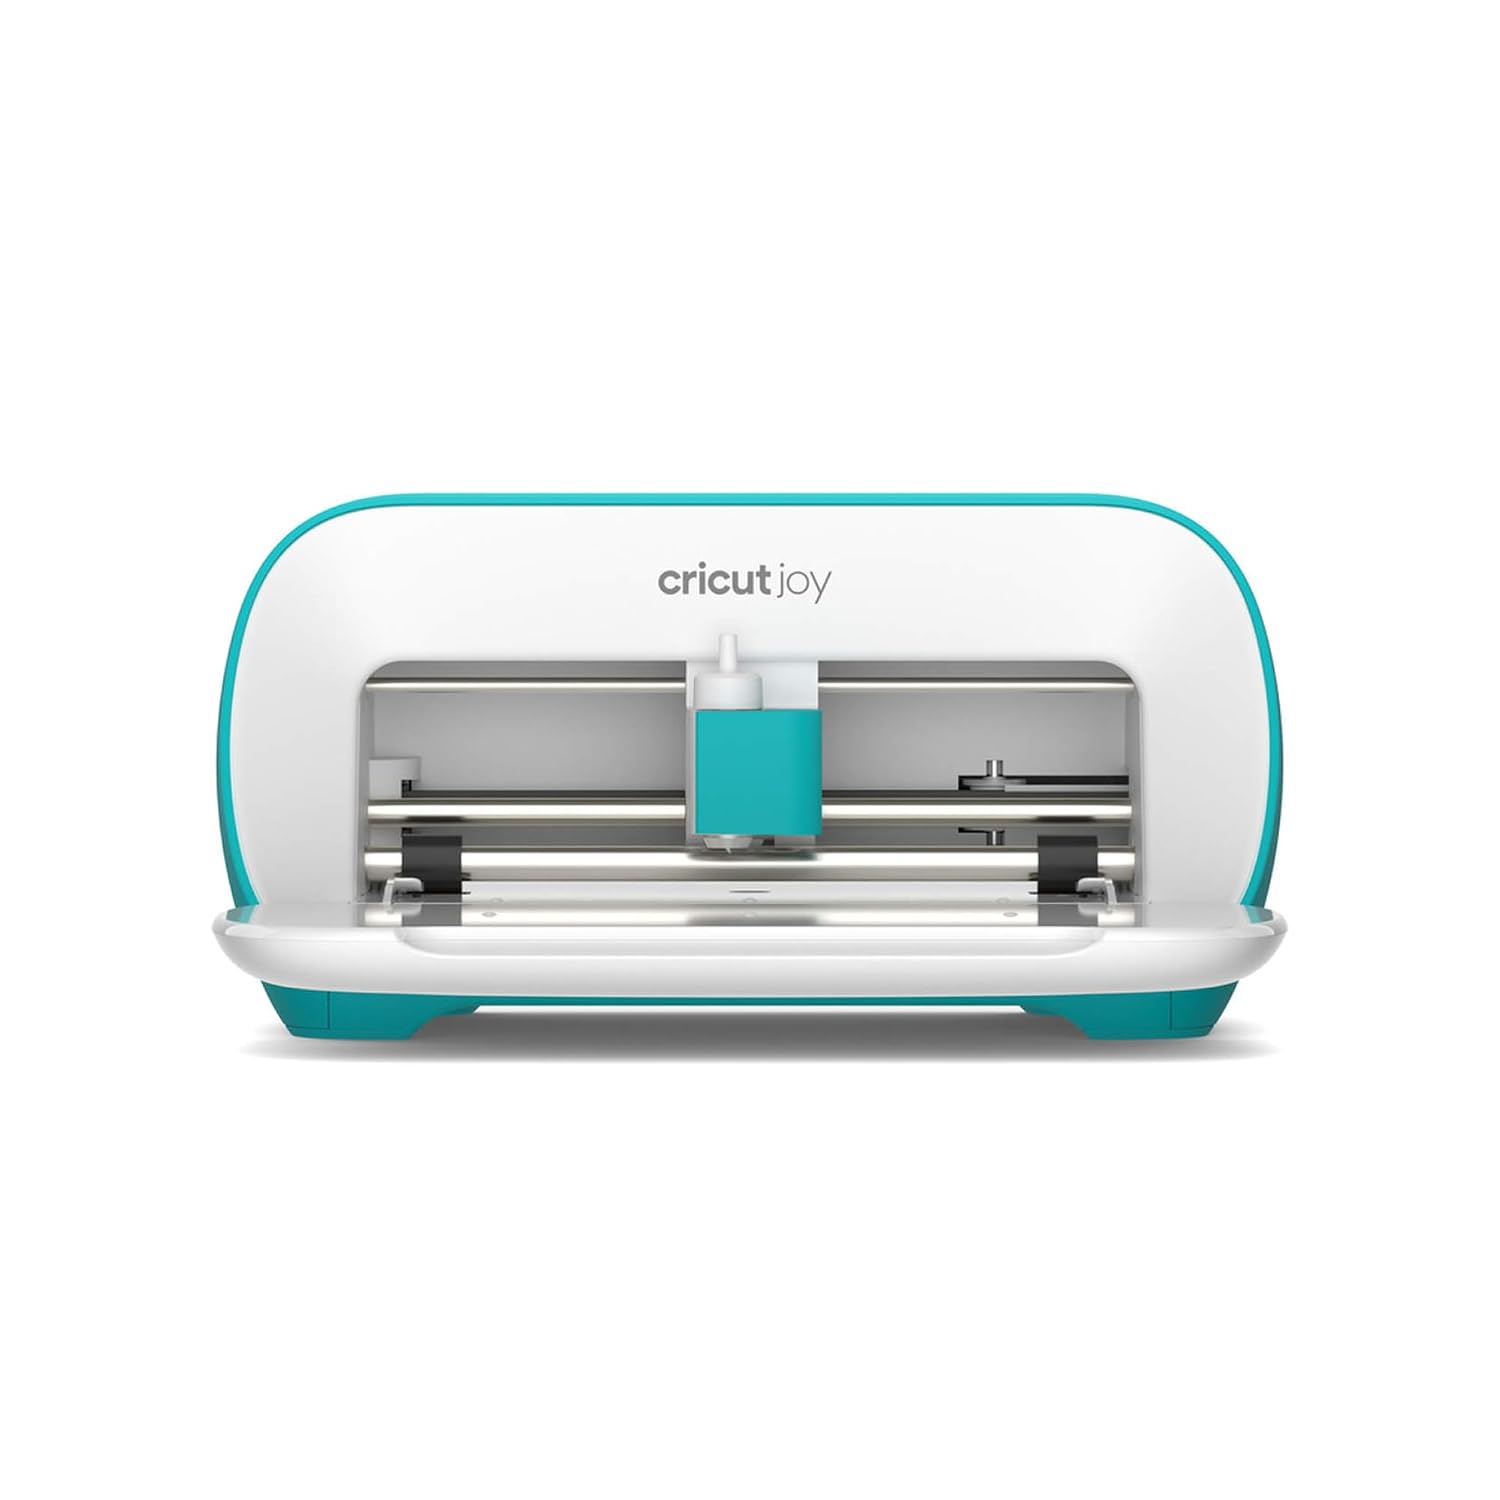
Budget pick: Cricut Joy Machine - A Compact,Portable DIY Smart Machine for Creating Customized Labels,Cards & Crafts,Works with Iron-on, Vinyl,Paper & Smart Materials, Bluetooth-Enabled, Blue - Used
 Visit on Amazon →
This is the machine I tell hobbyists to look at first, because the resale market for Cricut hardware stays strong and a used unit does everything a new one does. The Joy is narrow by design. It cuts labels, cards, small decals, and long repeated cuts for banners and pantry labels, and it does all of that off Bluetooth from a phone or laptop.
Flaws but not dealbreakers: It is a used listing, so the blade that arrives with it has an unknown history. Budget for a fresh fine point blade and a new mat on day one and treat whatever comes in the box as a spare. Ask the seller to remove the machine from their Cricut account before it ships, because a cutter that is still linked to someone else's account is a headache you do not want in week one.
Anyone who wants to cut labels, cards, and narrow vinyl without spending new-machine money should start here. If you already know you want to cut full-width iron-on for shirts, this is the wrong machine and no bundle fixes that.
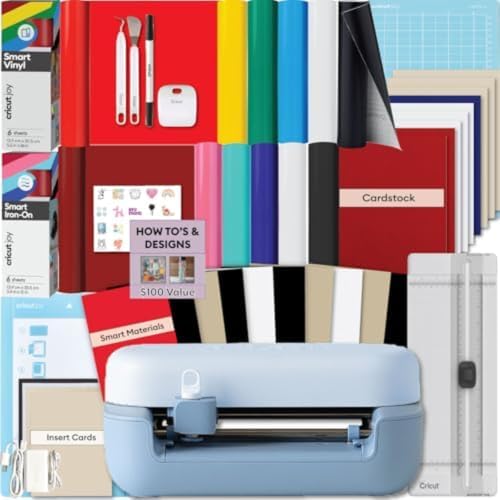
Our pick: Cricut Joy 2 Essential Bundle + Rainbow Sampler
 Visit on Amazon →
The bundle is the better call for anyone buying a gift or starting from zero, because it lands with a materials sampler instead of an empty desk. A rainbow sampler sounds like a gimmick until you are three projects in and realize you would rather test ten colors than commit to a ten-pack of one. For a beginner, the sampler is the difference between learning what material you actually like and guessing.
Flaws but not dealbreakers: Bundles quietly pad the box with accessories you may not need yet, and the sampler sheets are small. You will still buy a full roll of whatever color you fall in love with, plus transfer tape, within a month. That is fine. Just do not buy anything else until a specific project forces you to.
Anyone buying their first machine, or buying one for a teenager who will not read a manual, gets more value from the bundle than from a bare cutter and a separate shopping trip.
The actual setup workflow
Now the part you came for. This works whether you bought the used machine or the bundle, and it works in one evening.
Step one: Decide what you are cutting before you cut anything. Kiss cut means the blade goes through the vinyl but not the backing paper, which is how stickers and decals stay on their carrier sheet. Die cut means it goes all the way through, which is what you want for paper and cardstock. Most beginner frustration is a kiss cut project run as a die cut, or the reverse. Pick one, and set up the file for it.
Step two: Install Design Space and refuse the subscription on day one. The free tier covers your own designs, free files, and every basic cut. Say no to the trial if you do not want a charge in a month. The subscription pop-ups will keep coming, and they will keep coming mid-project, which is the single most annoying thing about this software. Close them and move on.
Step three: Seat the blade housing properly. This is the step nobody does and everybody should. Pull the housing out, look at the blade tip, and make sure it is seated and clean. Most machine problems are blade problems. A blade with a nick in it will tear instead of cut, and you will blame the pressure setting, then the mat, then the machine, in that order, for an hour.
Step four: Learn the mat, then learn matless cutting. The standard grip mat holds paper and cardstock flat. Smart Materials cut without a mat at all, which saves you the mat cost on long runs and is the real reason the Joy exists. Start with the mat, because it is forgiving. Move to matless once your pressure settings are dialed in.
Step five: Run a cut test sheet. Small circles, one square, one line of thin script. If the circles lift with the vinyl, your blade is not going deep enough. If the backing paper is scored, it is going too deep. Adjust in small steps and write the setting down. This sheet takes two minutes and saves you a wasted project.
Step six: Weed with the right light and the right tool. Weeding is the part that makes people quit. Work under a bright lamp, use a hook for the inside corners, and pull the waste vinyl at a low angle instead of straight up. If your letters are tearing, your blade was dull or your cut was too shallow. It is almost never the vinyl's fault.
Step seven: Make your first three projects in this order. A label first, because straight lines and block text forgive everything. A card second, because it teaches you the card mat and layering. Iron-on third, because HTV is the least forgiving material in the hobby and you should not meet it on day one.
Step eight: Track blade life in cuts, not months. Write a tally mark in a notebook every time you finish a project. When cuts start tearing instead of separating, swap the blade. Blades labeled premium are usually the same steel, and a fresh cheap blade beats a tired expensive one every single time.
What this actually costs
The cutter is a one-time purchase. The consumables are forever, and that is where the money goes. Here is the honest math.
The mat is a consumable and a money pit. Mine lose their grip after roughly eight cuts, and Cricut-brand replacements are priced for convenience. I buy third-party mats and I have never noticed a difference, and I say that as someone who has bought a lot of both.
Vinyl is the same story. Cricut-brand vinyl is fine and priced for people who want one cart. Buying standard vinyl elsewhere costs less per sheet and cuts the same. The exception is Smart Materials, where the matless trick is genuinely worth something on a long run of labels.
The subscription is the real product, and the math is simple. If you are designing your own files or using free ones, the free tier does everything you need. If you are cutting 50 stickers a year, the paid tier never pays for itself. If you are running an Etsy shop and pulling images from the library every week, it can be worth it, and you should decide that on purpose instead of on a pop-up.
The bundle is worth it because you get materials to learn on. The accessory aisle is not worth it, because half of it exists to solve problems you have not had yet.
Who should not buy a Joy
If your plan is full-width iron-on across the chest of a t-shirt, a Joy cannot do it. The machine is narrow by design and no workaround fixes that. You want an Explore or a Maker for apparel, and the Maker's extra tools are worth it only if you know exactly which tool you need and why. The Explore is enough for 90% of crafters.
If you only want to cut 50 stickers a year, buy the cheapest machine you can find and never open the paid tier. That is not a compromise. That is the correct answer.
And if you are buying a machine because a bundle looked like a deal, stop and price the projects you actually want to make. A cutter you use twice a month beats a bigger one you are afraid of.
The bottom line
A Cricut Joy setup works when you buy the machine, one blade, one mat, and one material, and then stop. Add the next thing only when a project demands it. The used unit is the cheapest honest entry into the hobby, and the bundle is the easiest start if you would rather not shop for materials separately.
The creative output is worth it. The accessory aisle is not. Set the machine up right, run the test sheet, write down your settings, and let the cutter do the job it was built to do.