Most vinyl projects fail before the blade ever touches the material. The sheet is crooked, the mat is loaded at an angle, and by the time Design Space starts cutting you have already lost the margin you needed. A Cricut cutting mat and trimmer handle the half of the job that happens before the machine runs, and together they cost less than most of the accessory bundles that get pushed at you at checkout.
I prep material in batches, not one sheet at a time, so the tools below are the ones that survive a real workload rather than a weekend project.
Why you should trust me
I ran an Etsy sticker and vinyl shop for six years out of a spare bedroom in Nashville while raising two kids, then turned it into a full time business teaching weekend craft classes. I own three machines, an old Explore, a Maker 3, and a competitor unit I borrowed to compare against, and I have cut through more than 200 rolls of vinyl and dozens of mats. My notebook is full of blade types, pressure settings, and a running list of materials that lie about their thickness.
When a student brings me a broken machine, it is almost never the machine. It is a dull blade or a dead mat.
How I judge the tools that do the prep work
I judge prep tools on shop pace, not on a spec sheet. Four things matter to me:
- A trimmer that cuts square on the first pass without me pinning the sheet down with my knee.
- A guide that stays where I set it after twenty cuts.
- A mat that holds a sheet flat through a full cut and does not shed adhesive onto the back of the vinyl.
- Whether the tool needs Cricut branded refills to keep working. Anything that locks me into one consumable gets marked down.
I also price the consumable, not the tool. A mat is a consumable. It will die, and the only question is whether it dies after a handful of cuts or after a useful run of them.
The two prep tools I keep at the front of the table
Everything below happens before you press the load button. If your prep is sloppy, no pressure setting will save the cut.
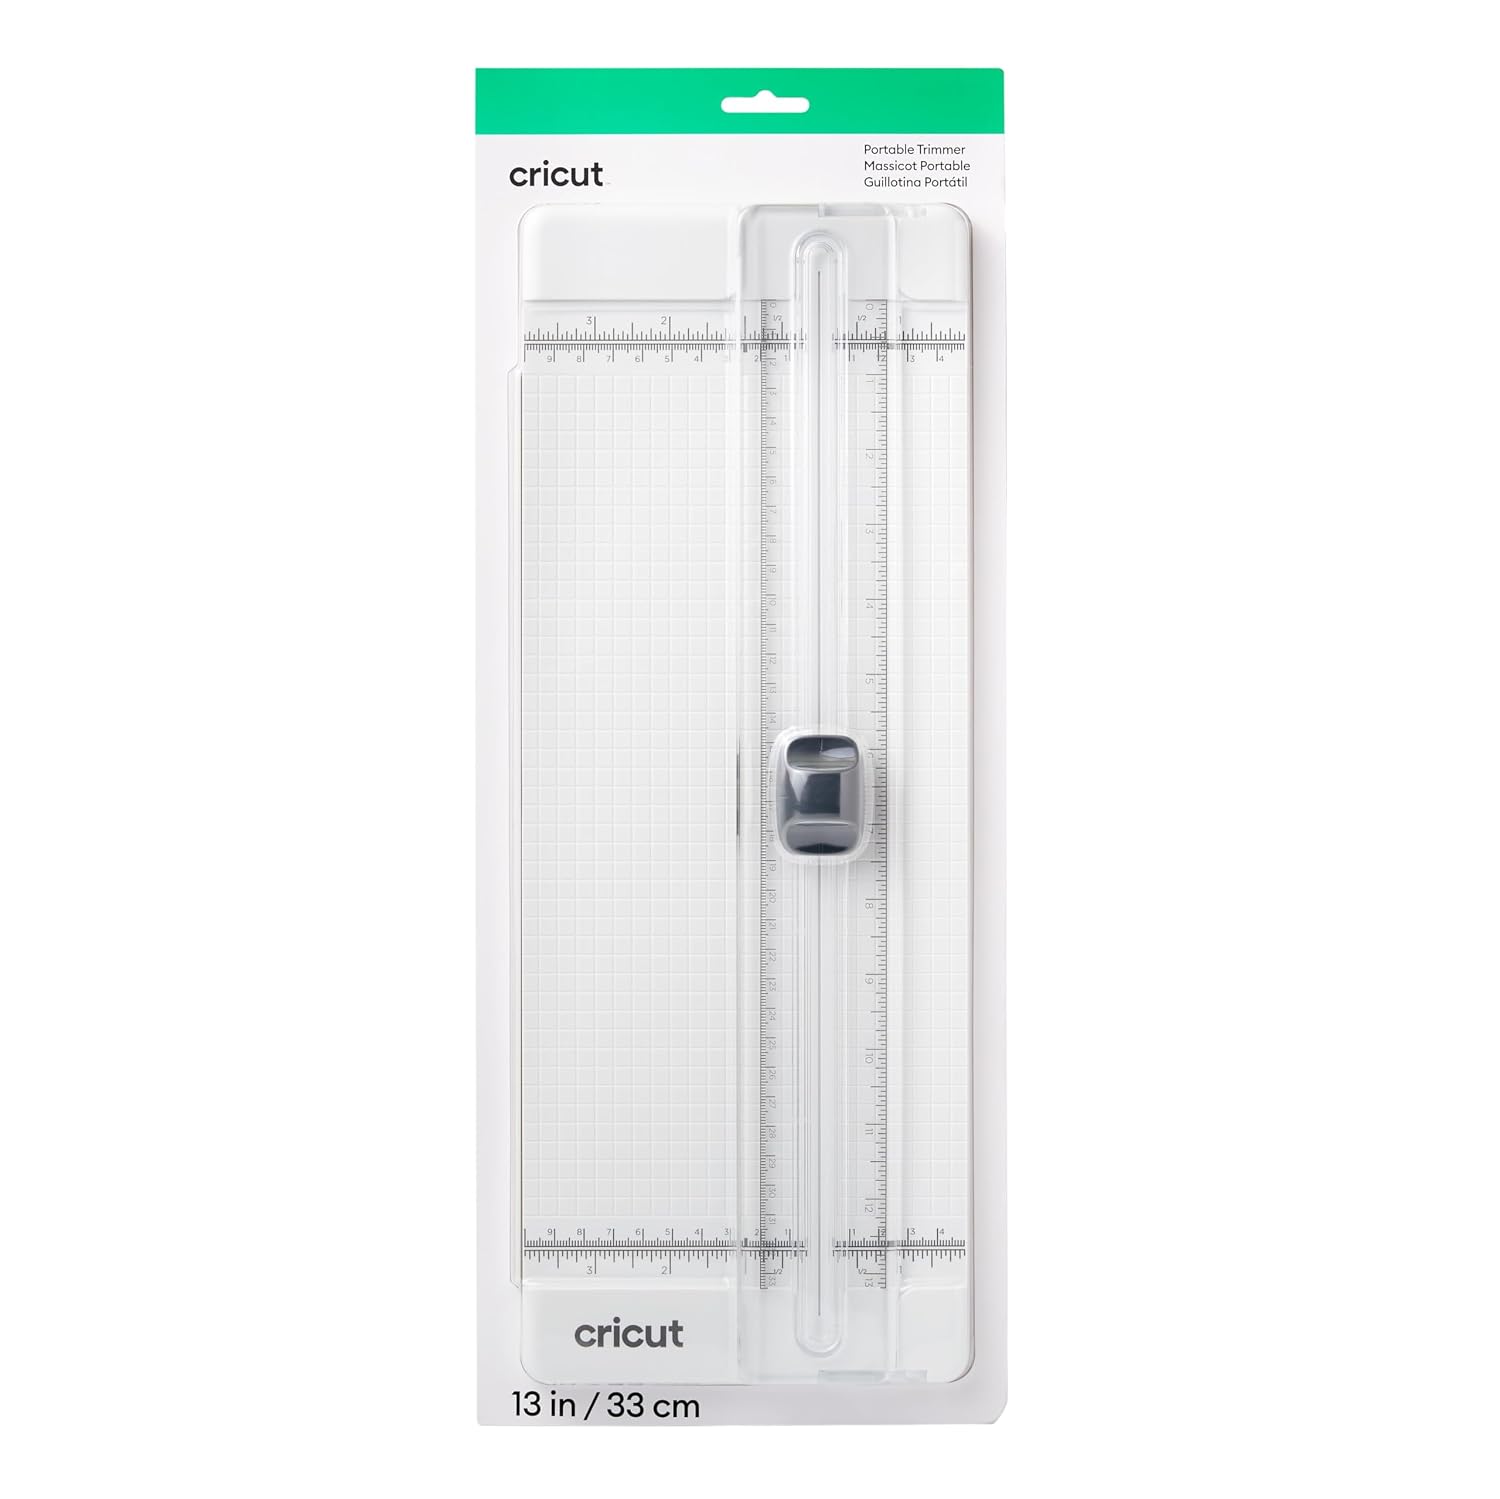
Trim the sheet first: Cricut Portable Trimmer | 13 in (33 cm)
 Visit on Amazon →
The bed on this trimmer is 13 inches, and that is the number that matters. A 12x12 sheet of vinyl or HTV sits inside the rails with the edge resting against the guide instead of fighting it, so you get one clean straight pass without repositioning halfway through. The arm extends for longer cuts, which is what you want when you are squaring off a length of HTV for a shirt run instead of a single sheet.
This is a straight line tool. It trims, it squares, it cuts a roll down to mat size. It does not cut curves and it does not replace the machine. What it does is remove the worst habit in home vinyl work, which is eyeballing a cut with scissors and then wondering why the sheet loads crooked.
Flaws but not dealbreakers: Replacement blades are a separate purchase, and the guide is only as accurate as your grip. Press the sheet flat and make one firm pass. Stopping halfway through a cut is how you get a jagged edge and a dulled blade.
Anyone trimming sheets with kitchen scissors or a ruler and a rotary cutter will feel the difference on the first cut.
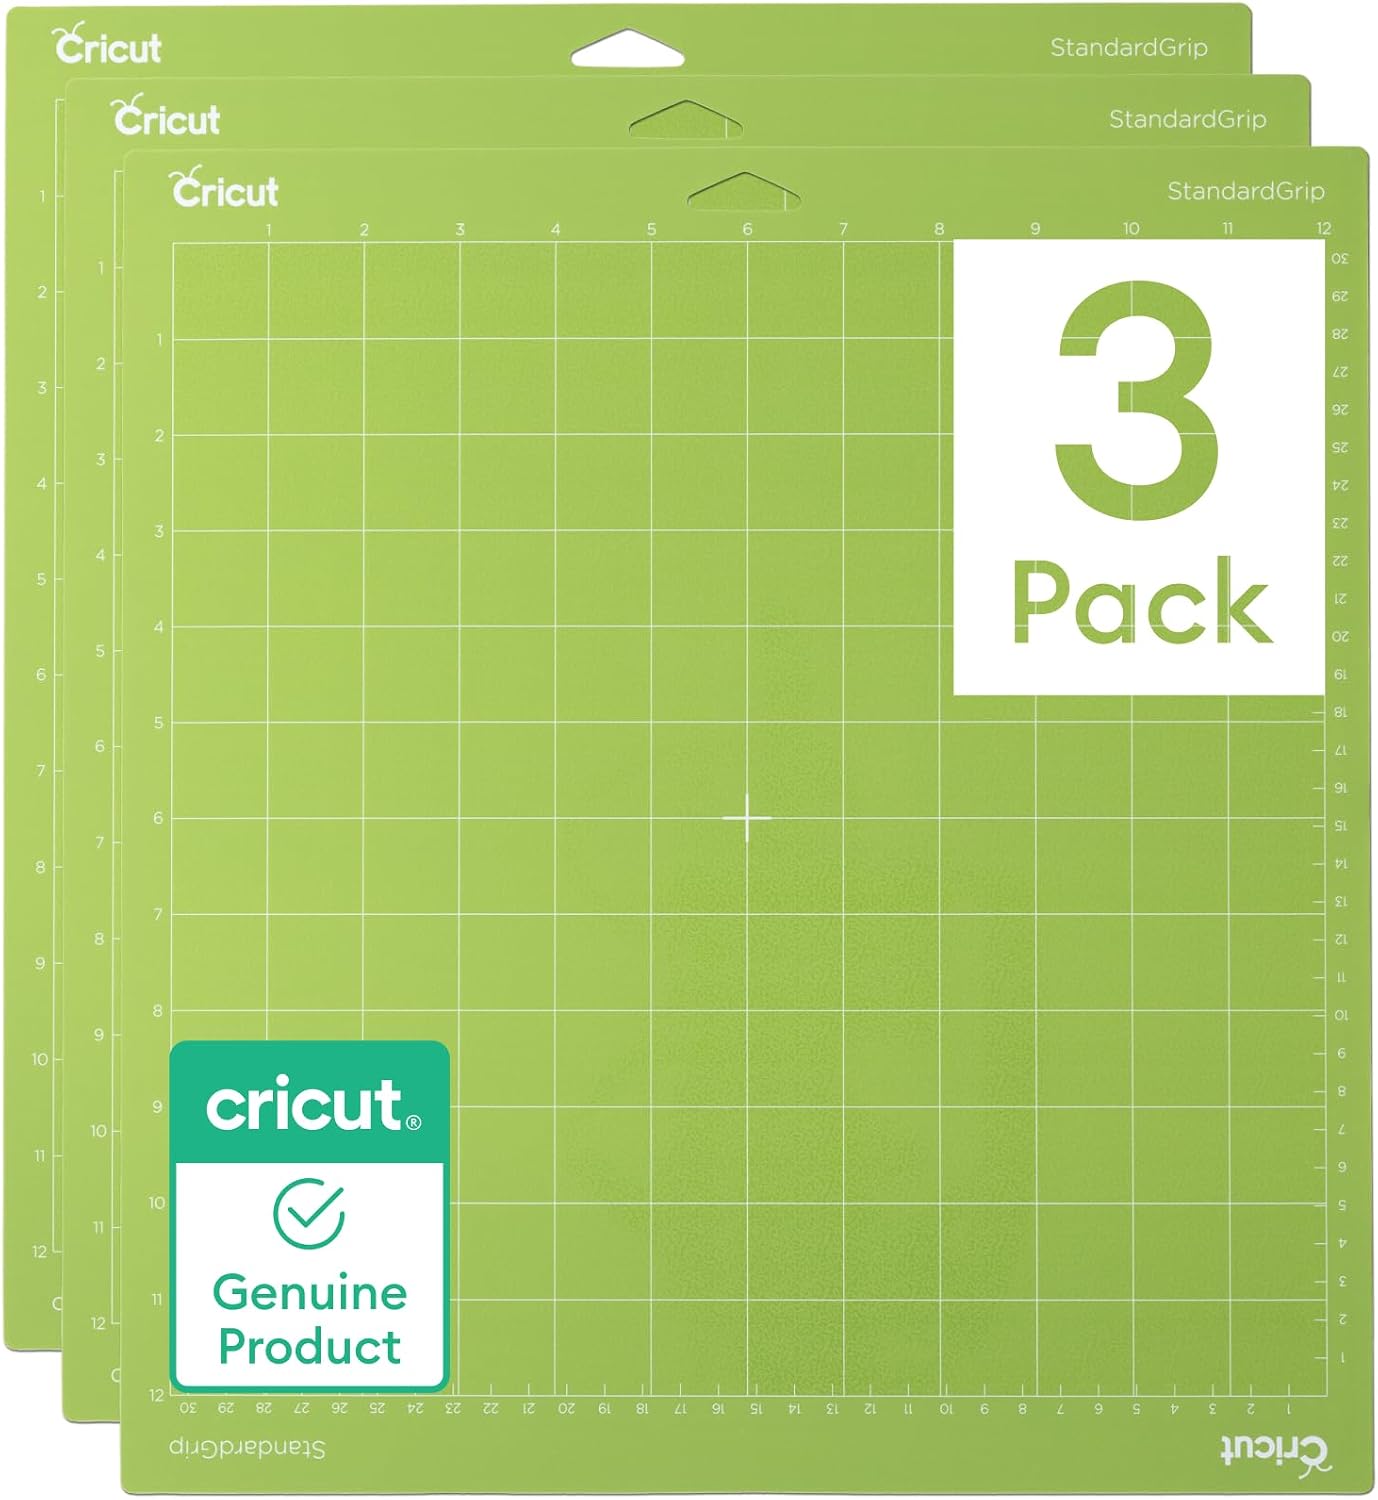
Then stick it down: Cricut StandardGrip Adhesive Cutting Mat (12in x12in) - 3 Pack, Green
 Visit on Amazon →
StandardGrip sits in the middle of Cricut's mat lineup, which is the tack most paper and vinyl work actually wants. The three pack is the right format for one simple reason: mats are consumables. Buying one means you run it into the ground and then stop working while a replacement ships. Buying three means you can rotate, let one rest, and keep cutting.
I will be honest about brand loyalty here. I buy third party mats for my own shop and I have not noticed a difference, which is exactly why I still hand the Cricut branded pack to students. The tack is consistent from mat to mat, and when you are learning, consistency matters more than saving a little money. Once you know what a mat is supposed to feel like, go ahead and experiment.
Flaws but not dealbreakers: The tack goes before the plastic does. Mine give out after a handful of cuts once paper fiber and vinyl dust build up on the surface. Keep the clear cover sheet on when it is not loaded, scrape the fuzz off with a scraper instead of your fingernail, and store it flat. Never leave it stuck to another mat and never store it under something heavy.
If you cut mostly vinyl, HTV, and paper, this is the mat you want. If you cut heavy chipboard or leather, you want a stronger tack, and that is a different product.
The actual workflow, step by step
This order works on any Cricut machine.
Step one: square the sheet. Trim the vinyl or HTV to the size of your mat with the trimmer, edge against the guide, one firm pass. A square edge is what lets the machine feed the mat straight. Ragged edges catch on the rollers.
Step two: plan the layout in Design Space before you touch the mat. Group your shapes, check the spacing, and leave a margin around the edge of the mat. Cutting to the very edge is how you get a design that runs off and a mat that gets sliced.
Step three: load the material on the mat. Peel the cover back slowly, lay the sheet down starting from one edge so you do not trap air bubbles, then press it down with a brayer or a scraper. For HTV, mirror the design in Design Space before cutting and load the material the way your machine's guide shows.
Step four: check the blade housing. This is the step everyone skips. If the last project was cardstock and this one is vinyl, you need the right blade at the right depth. A dull or wrong blade tears the material instead of cutting it, and it does it in a way that looks like a machine fault.
Step five: test cut before the real cut. Cut a small shape in the corner of a scrap of the same material. A kiss cut goes through the vinyl and leaves the backing intact, which is what you want for stickers. A die cut goes all the way through. If the test cut is ragged, change the blade before you change the pressure. Pressure is a fine adjustment, not a fix for a dull blade.
Step six: weed on the mat, not in your hand. Leave the cut sheet on the mat while you pull the waste. The mat holds everything still, which keeps small pieces from curling and disappearing.
Step seven: save the scraps. Trimmed offcuts are not trash. Keep them flat in a labeled sleeve, sorted by color. A good chunk of my small sticker orders comes out of the scrap bin, and the trimmer is what makes those scraps usable in the first place.
Step eight: reset for next time. Scrape the mat, cover it, cap the blade, and put the trimmer back where you can reach it. Tools you cannot reach are tools you stop using.
Where this goes wrong
Two caveats, because I would rather you hear them now than after you waste a sheet.
First, mat stickiness is the real failure point. A mat that has lost its tack lets the sheet shift mid cut. You will blame the machine, then the blade, then the software, and it will be the mat. Rotate mats, keep them covered, and retire them the moment the sheet starts moving.
Second, none of this fixes Design Space. The software is slow, it is cloud dependent, and the subscription is the real product Cricut is selling. I say that as someone who uses it daily. Your prep tools are the part of the hobby you own outright. Keep them sharp and keep them clean, and software problems stop feeling like hardware problems.
What did not make this guide
A few things students ask about that belong somewhere else. The scoring stylus, the deep point blade, and the various specialty housings are machine accessories, not prep tools, and they only pay off once you already know the material you are cutting. The heat press question is its own article, and it depends entirely on how much HTV apparel you actually sell.
This is also not a machine buying guide. The Explore handles the vast majority of hobby cutting, and the Maker's extra tools are worth the money only if you know exactly what you need them for. That decision comes before anything in this article.
And I am not turning this into a brand argument. Other companies make fine cutting machines and fine mats. What Cricut has is the tutorial ecosystem, and that is the honest reason a beginner should start here.
What this all costs
The prep side of this hobby is the cheap side. A trimmer and a three pack of mats cost a fraction of what the machine did, and a fraction of what a year of the software subscription runs. Check current Amazon price on both before you assume you need a deluxe bundle, because you almost certainly do not.
The ongoing cost is consumables. Mats and blades wear out, and no setting prevents that. Budget for them the way you budget for vinyl itself, and buy them in packs instead of one at a time.
Do the math on cost per cut rather than cost per tool. A mat that lasts through a useful run of cuts is doing its job. A blade that keeps cutting cleanly is doing its job. The trimmer, which is the one tool here that does not wear out with normal use, pays for itself the first time it saves a ruined sheet of HTV.
That is the whole trick. Square the material, stick it down flat, test before you commit, and treat mats and blades as the consumables they are. Your machine was never the problem.