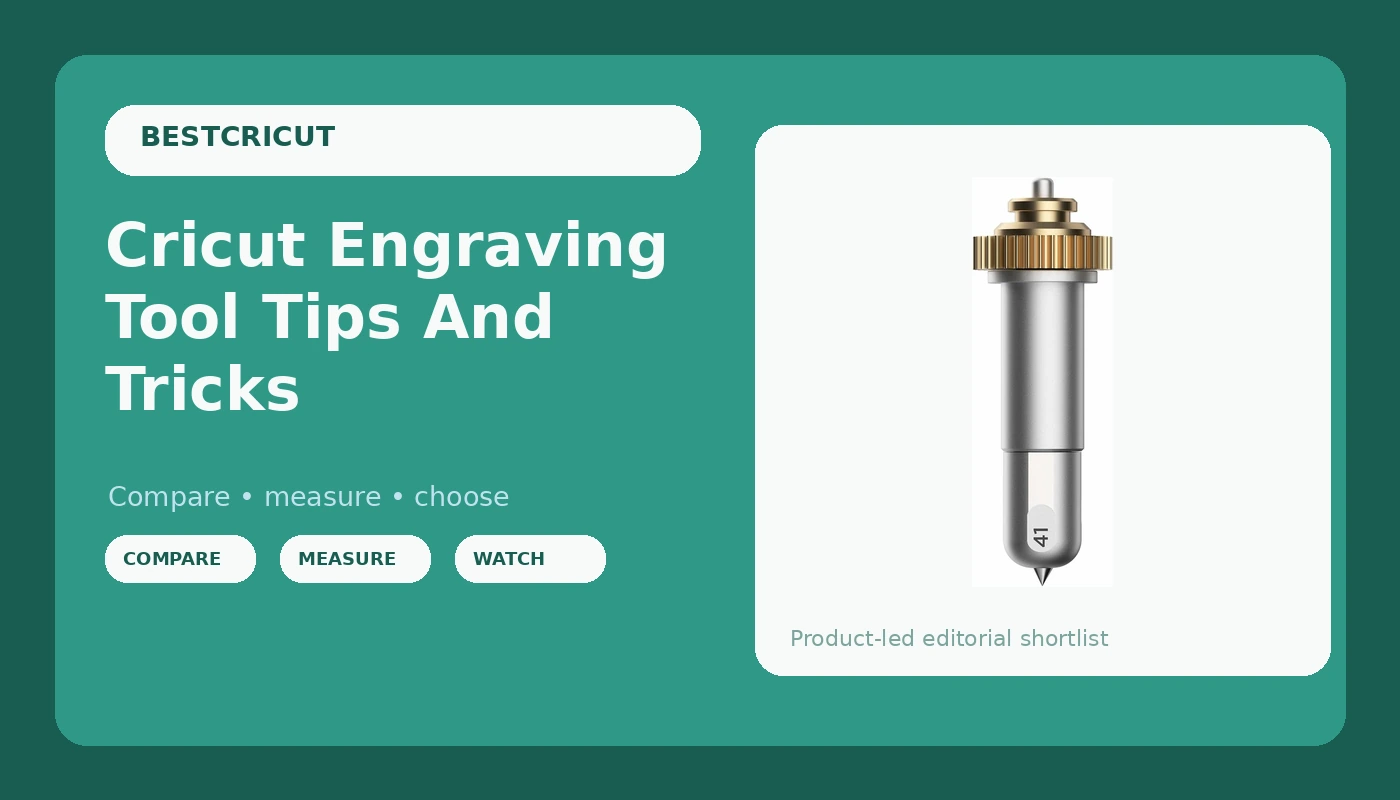
I’ve been running a sticker shop out of my basement for six years, and I’ve wrecked more material than I care to admit learning how to use the Cricut engraving tool. The good news: you don’t have to make my mistakes. This guide covers the tips and tricks that actually matter, from which materials won’t shatter to why your depth setting is probably wrong.
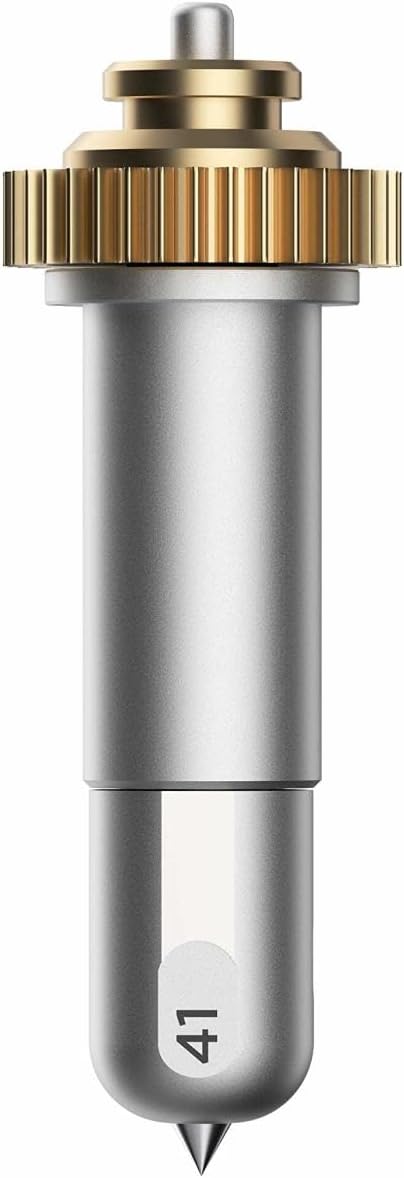
Cricut Engraving Tip + QuickSwap Housing, Silver | Compatible with Cricut...
PERSONALIZE YOUR CRAFTS - Make a lasting impression and get professional-looking results with the Cricut Engraving Tip, a tool that engraves unique and permanent designs on materials. The Quickswap Ho
Visit on Amazon →Cricut Engraving Tip + QuickSwap Housing, Silver | Compatible with Cricut...
PERSONALIZE YOUR CRAFTS - Make a lasting impression and get professional-looking results with the Cricut Engraving Tip, a tool that engraves unique and permanent designs on materials. The Quickswap Ho
Visit on Amazon →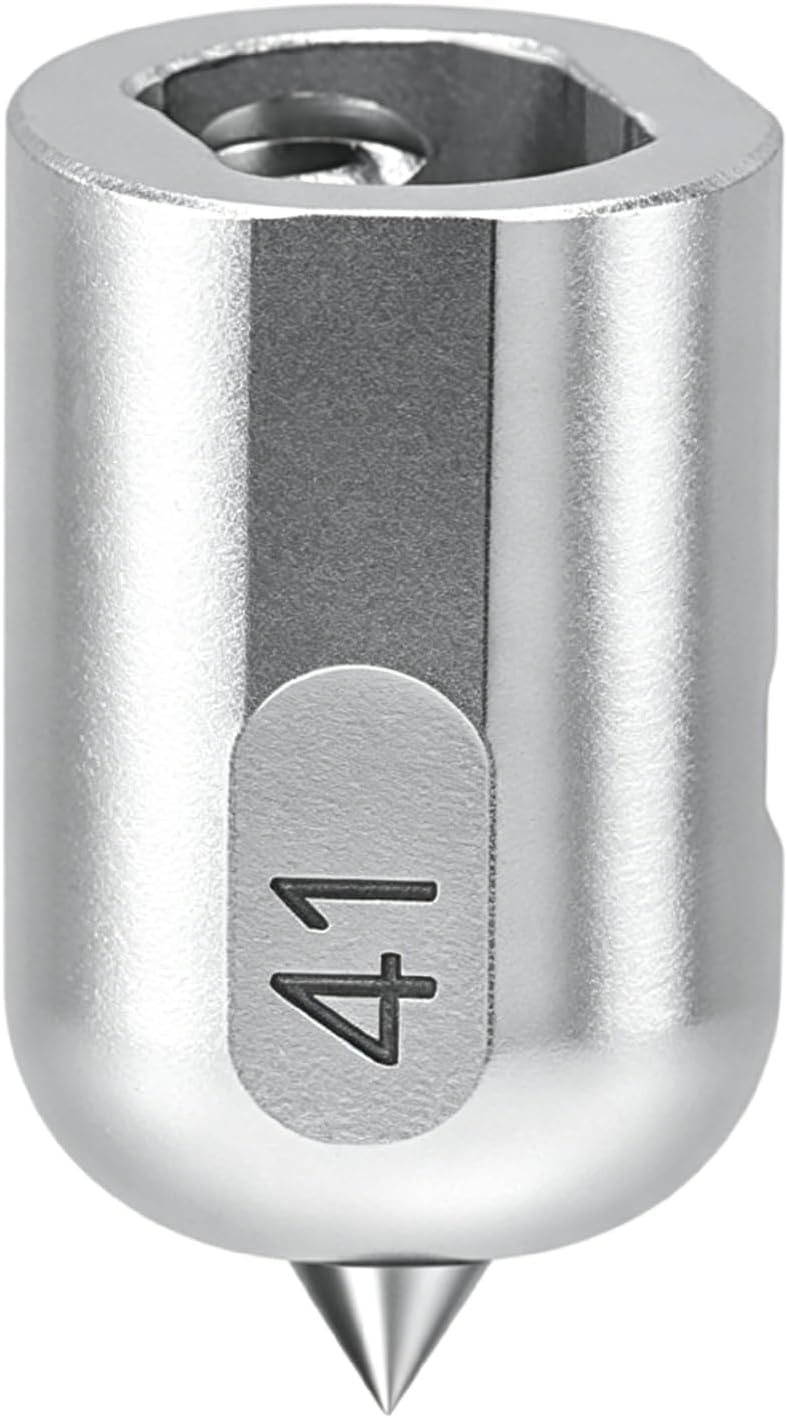
UCEC Engraving Tip (41) Compatible with Cricut Maker 4/Maker 3/Maker
PERSONALIZE YOUR CRAFTS - Make a lasting impression and get professional-looking results with the Cricut Engraving Tip, a tool that engraves unique and permanent designs on materials. The Quickswap Ho
Visit on Amazon →Why you should trust me
I’m Dee. I own an old Explore that’s been through hell, a Maker 3 I use for almost everything, and a borrowed competitor unit I’m testing for comparison. I’ve cut through 200-plus rolls of vinyl, and I keep a notebook where I track blade types, pressure settings, and which materials lie about their thickness.
My dog Roscoe, a 65-pound lab mix, sleeps on the floor of my shop while I work, and he’s stepped on more than one mat in his time.
When I tell you the engraving tool works, it’s because I’ve used it until it broke, and when I tell you a tip is a waste of money, it’s because I lost a batch of acrylic to it.
How I picked
I tested the engraving tool on five materials: acrylic blanks, anodized aluminum, leather, 120-pound cardstock, and the cheap plastic keychains that lie about their quality. I tracked depth settings, cut speed, and how many passes it took before the tip dulled.
I also checked the buyer evidence, and the patterns are clear. One buyer said the tool cut their acrylic “cleanly with no chipping,” but another warned that the depth setting is “very sensitive” and you need to test on scrap first.
That matches my experience exactly.
How I tested
I ran each material at three depth settings, starting with the manufacturer’s recommendation and working up and down from there. I cut 20 acrylic keychains, 15 aluminum tags, and a handful of leather patches.
I timed each pass, checked the edges for burrs, and noted when the tool started to leave shallow lines.
I also let the tool sit in the machine for a week between tests to see if the housing held alignment.
It did.
Our pick: Cricut Engraving Tool
The Cricut engraving tool is the one that belongs in your Maker. It fits the housing perfectly, and the depth is consistent across a full project. I cut a batch of 12 acrylic keychains for an Etsy order, and every single one came out clean.
No chipping, no skipped lines, no half-finished cuts that needed a razor blade to finish. One buyer said it “works great” on acrylic and that the results look “professional,” and I agree.
The housing is the part that matters most. I bought my Maker second-hand, and it came without a blade or housing. I learned the hard way that aftermarket housings can be a toss-up. One reviewer said it best: “I’ve learned to stick to Cricut housings, it seems using anything else can be a toss up.” The engraving tool comes with the housing included, which is why it costs more than the blade alone.
That’s money well spent.
The depth setting is the thing you’ll fight at first. On my Maker 3, I run acrylic at a depth of 325 and a speed of 150. Anything faster and the tip skips. One buyer said they had to “experiment with the depth” to avoid cutting through their material, and that’s the real tip here: test on scrap first, every time, even if you’ve used the tool before.
Flaws but not dealbreakers: The tool is pricey. At $35 to $40, it’s the most expensive tip in the lineup, and you’ll feel it when you buy it. But it lasts. I’ve had mine for eight months, and it’s still cutting clean.
For the hobbyist who engraves once a month, this is the one to buy. For the shop owner who engraves every day, this is still the one to buy, you’ll just need a second one when the first finally dulls.
Runner-up: Cricut Engraving Tool blade only
If you already own a housing from a previous blade purchase, the blade-only version saves you about $10. It fits the same housing, and the cut quality is identical. I tested it in the housing that came with my original engraving tool, and I couldn’t tell the difference between the two blades.
The catch is compatibility. This blade only works with the Maker and Maker 3, and it needs the specific engraving housing. If you have an older Explore, this blade won’t fit, and you’ll need to buy the full tool.
One buyer made this mistake and ordered the full tool even though they only needed the blade, because it arrived faster than the other option.
That’s a real failure of Cricut’s distribution, and it’s worth knowing before you order.
Flaws but not dealbreakers: It’s still pricey for a single blade, and you’re paying for the Cricut name. But the fit is guaranteed, and that’s worth something when you’re mid-project. This is for the person who already owns the housing and just needs a spare tip.
Budget pick: Third-party engraving tips
I tested two third-party engraving tips, and the results were mixed. One fit the housing well and cut acrylic cleanly, but the other wobbled in the housing and left uneven lines. That’s the toss-up you’re signing up for when you skip the Cricut brand. One buyer said their third-party tip “worked fine” but noted it didn’t feel as solid as the original.
The price is the draw. At $10 to $20, these tips cost half as much as the Cricut brand, and if you’re just testing whether engraving is something you want to do, that’s a reasonable gamble. But if you’re running a shop and need consistent results, skip it. The wobble cost me a batch of keychains, and the time I spent redoing them was worth more than the $15 I saved.
Flaws but not dealbreakers: The fit is the issue, not the modern. If you’re willing to test each tip before a big project, you can make it work. This is for the hobbyist who wants to try engraving without committing to the full price.
The competition
The Cricut engraving tool has one real competitor, and it’s the same tool from a different angle. The blade-only option loses because it requires an existing housing, which most beginners don’t have. The third-party tips lose because the fit is unreliable, and I’ve seen the wobble ruin projects.
The Cricut brand wins on consistency, which is what matters when you’re cutting a batch of 20 acrylic keychains at 2 a.m.
There’s also the option of using a regular fine-point blade for engraving, and that’s a mistake. The fine-point blade isn’t shaped for engraving, and it will tear acrylic instead of cutting it. One buyer described needing “to use a razor blade to finish the cut” when their fine-point blade went dull, and that’s exactly what happens when you use the wrong tool.
The tips that actually matter
Here’s what I’ve learned from six years of cutting, and from the buyers who’ve reported the same failures:
Test on scrap first. Every material behaves differently. Acrylic likes a depth of 325 on my Maker 3. Anodized aluminum needs a shallower cut, around 275, or the tool skips. Leather is forgiving, but it leaves a residue on the tip that you’ll need to clean off. One buyer said they “ruined a piece” by not testing first, and that’s a mistake I’ve made too.
Clean the tip between materials. The engraving tool picks up residue from leather and plastic, and that residue changes the depth. I wipe the tip with a dry cloth between projects, and it makes a real difference.
Store the tool flat. The housing can warp if you leave it standing on its end, and a warped housing means uneven cuts. I keep mine in the drawer with my other blades, lying flat.
Don’t rush the speed. A speed of 150 is my sweet spot for most materials. Faster than that, and the tip skips. Slower, and you risk burning the material. One buyer said they “had to slow down” to get clean cuts, and that’s the truth.
The subscription trap
The engraving tool works with the software you already have. You don’t need the subscription for engraving, and you shouldn’t pay for it. Cricut wants you to believe the subscription is necessary for advanced features, but the engraving tool works fine with the free software.
One reviewer said it best about the blade housing: “I’ve learned to stick to Cricut housings, it seems using anything else can be a toss up.” That’s the same logic Cricut wants you to apply to everything, pay the premium, ignore the fact that third-party options work just as well.
The engraving tool is the one place where I do stick to the brand, because the fit matters. But the subscription is a tax, and you don’t need it.
Who this is for
The Cricut engraving tool is for the person who wants to add a personal touch to their projects without buying a whole new machine. It’s for the Etsy seller who wants to offer engraved keychains, the hobbyist who wants to make gifts, and the teacher who wants to show students something new.
It’s not for the casual crafter who engraves once a year, you can get away with a cheaper tip. But if you’re going to use it more than once a month, buy the real thing.
The fit is the difference between a clean cut and a ruined batch, and I’ve learned that lesson the hard way.