Most Cricut cut problems are blade problems, and most blade problems are solved by a swap and a pressure setting, not a new machine. I learned that the expensive way, back when I was running an Etsy sticker and vinyl shop out of a spare bedroom in Nashville and buying accessories to fix cuts that a fresh blade would have fixed. Cricut blade replacement is the least glamorous habit in this hobby and the one that saves the most material.
This guide is for two kinds of people. The first already owns a Cricut and keeps getting ragged edges, torn vinyl, and cuts that do not go all the way through. The second is staring at a compact starter bundle and trying to figure out whether the small machine is enough. Both questions have answers, and neither answer involves buying the entire accessory aisle.
Why you should trust me
I ran an Etsy sticker and vinyl shop for six years while raising two kids, then turned the whole thing into a full-time business teaching weekend craft classes. I own three machines: an old Explore that refuses to die, a Maker 3, and a borrowed competitor unit I keep around for comparison. Over that time I have cut through more than 200 rolls of vinyl and gone through dozens of mats, and I keep a notebook of blade types, pressure settings, and which materials lie about their thickness on the label. When a student tells me their machine is broken, I ask for one photo of the blade.
Diagnose the cut before you buy anything
There are four failure modes, and they look almost identical on the mat.
Ragged edges on curves and corners mean the blade is dull or the blade housing is loose. A sharp fine point blade slices. A dull one drags. You will see fibers on paper and a fuzzy edge on vinyl.
Material lifting off the mat mid-cut means the mat has lost stickiness. This is the single most common complaint I hear, and it is almost never the machine. Mats are consumables, and even good ones give you a limited number of cuts before they need a wash or a replacement.
A cut that scores but does not separate means the blade is not extended enough or the pressure is too low. In Design Space terms, you are getting a kiss cut when you wanted a die cut. A kiss cut goes through the vinyl but leaves the backing intact, which is what you want for stickers. A die cut goes through everything, backing included, which is what you want for a shape you plan to weed and transfer.
A cut that slices through the backing when you wanted a sticker means the opposite: too much pressure or too deep a blade. Your sticker is now two pieces.
Before you spend anything, run one test cut on scrap material and watch which of the four problems you get. Write it down. The notebook habit is the whole trick.
The two pieces of gear that matter here
Everything else in this hobby is optional. These two are the ones that solve the problems above.
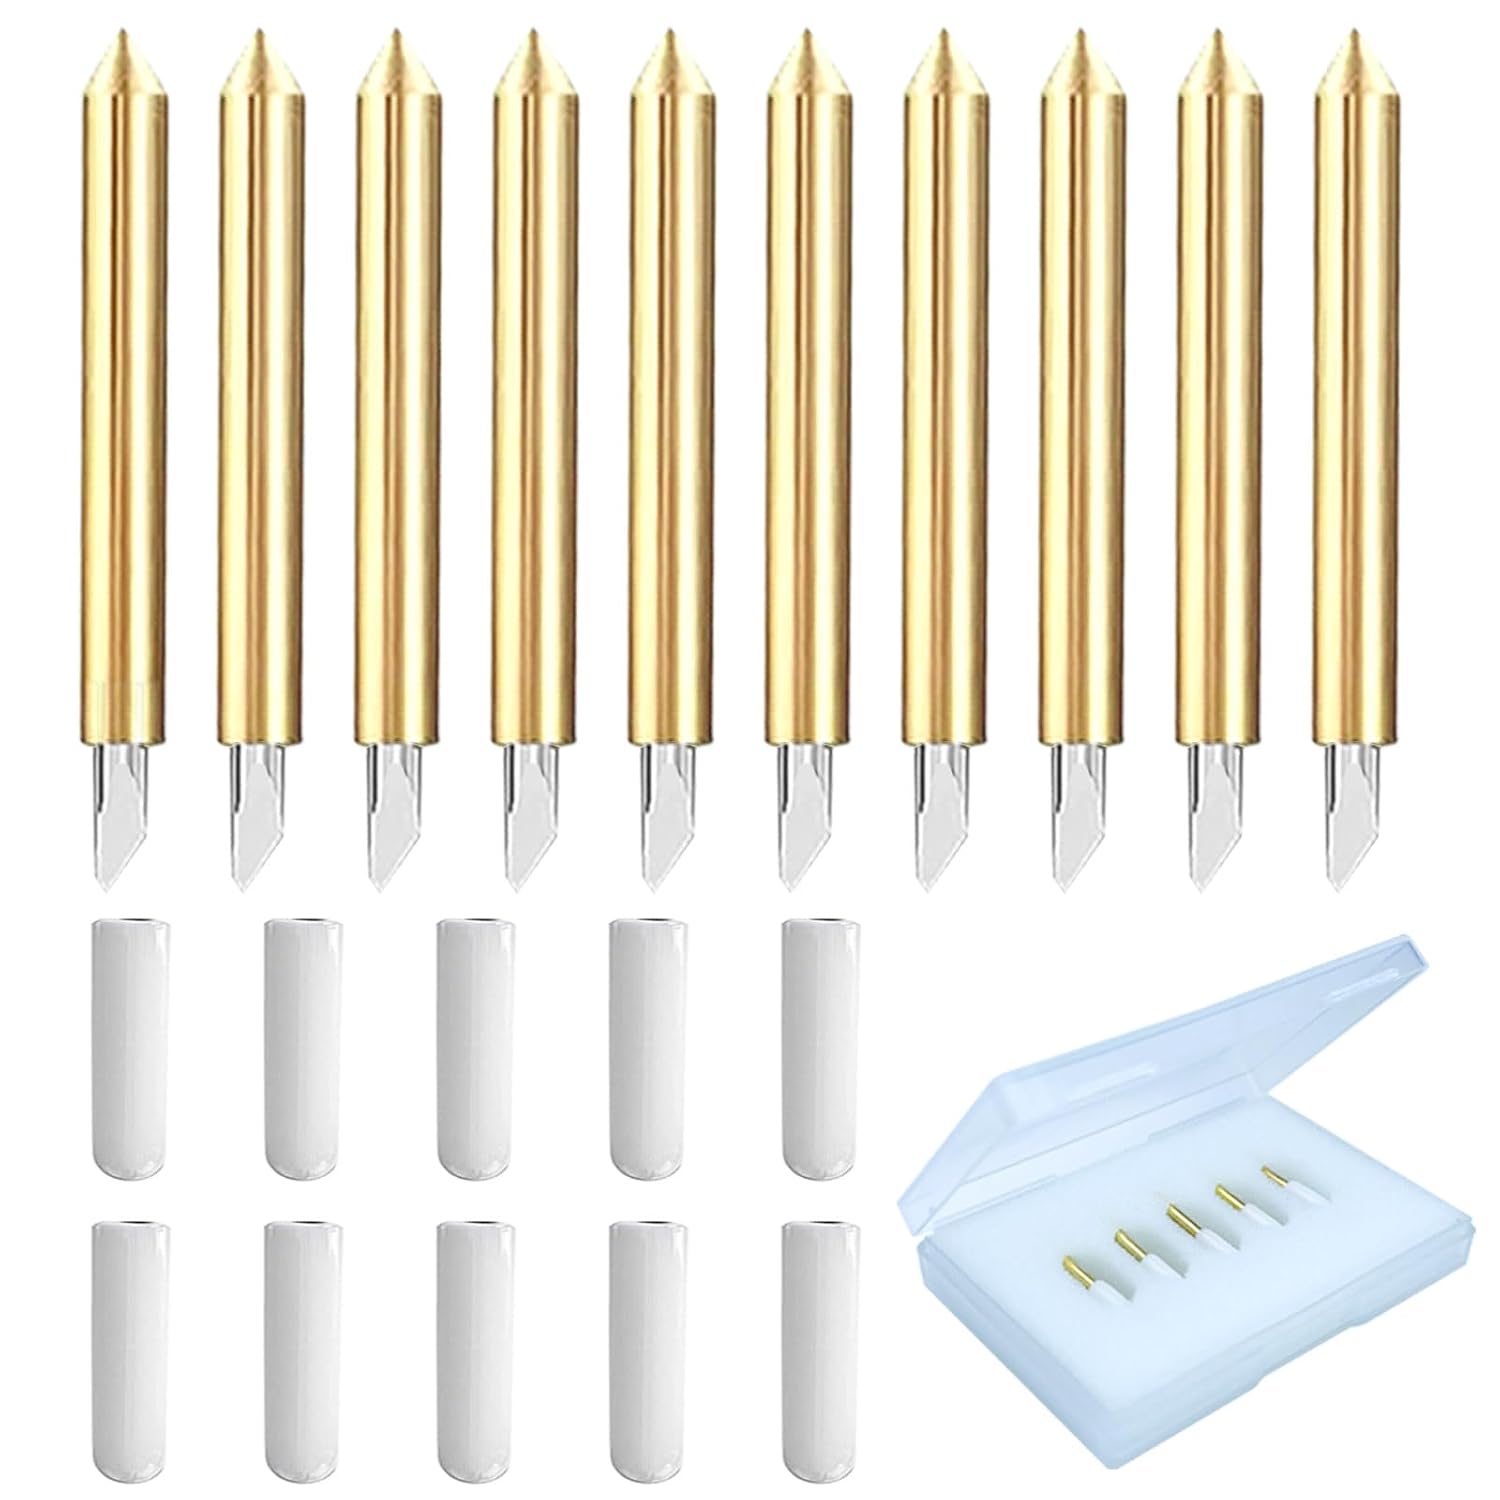
The blade that fixes most bad cuts: Premium Fine Point Blade Compatible for Cricut Explore Air 2/Air 3/Maker
 Visit on Amazon →
The fine point blade is the default cutter for vinyl, paper, cardstock, and most of what a beginner actually cuts. This one is listed for the Explore Air 2, Air 3, and Maker, which covers the machines most people own. It is a third-party blade rather than a Cricut-brand one, and that is the point. A blade is steel and a spring, and in my experience the third-party version cuts the same as the branded one. I have never found a reason to pay the brand premium for something I replace every few weeks.
A few things to know before you order. This is a blade, not a housing, so if your blade housing is worn or bent, a new blade will not fix it. If you run a Joy, this is not your blade. The Joy line uses its own housing, so check the Joy-specific blade instead. And if your cuts are still ragged after a fresh blade seats all the way down, the problem is upstream of the blade.
Flaws but not dealbreakers: Third-party packaging is minimal, and the blade arrives in a small sleeve with no protective cap, so store it somewhere it will not get nicked. A nicked blade is a dull blade.
Anyone cutting vinyl, paper, or cardstock on an Explore or Maker should keep two of these on hand at all times.
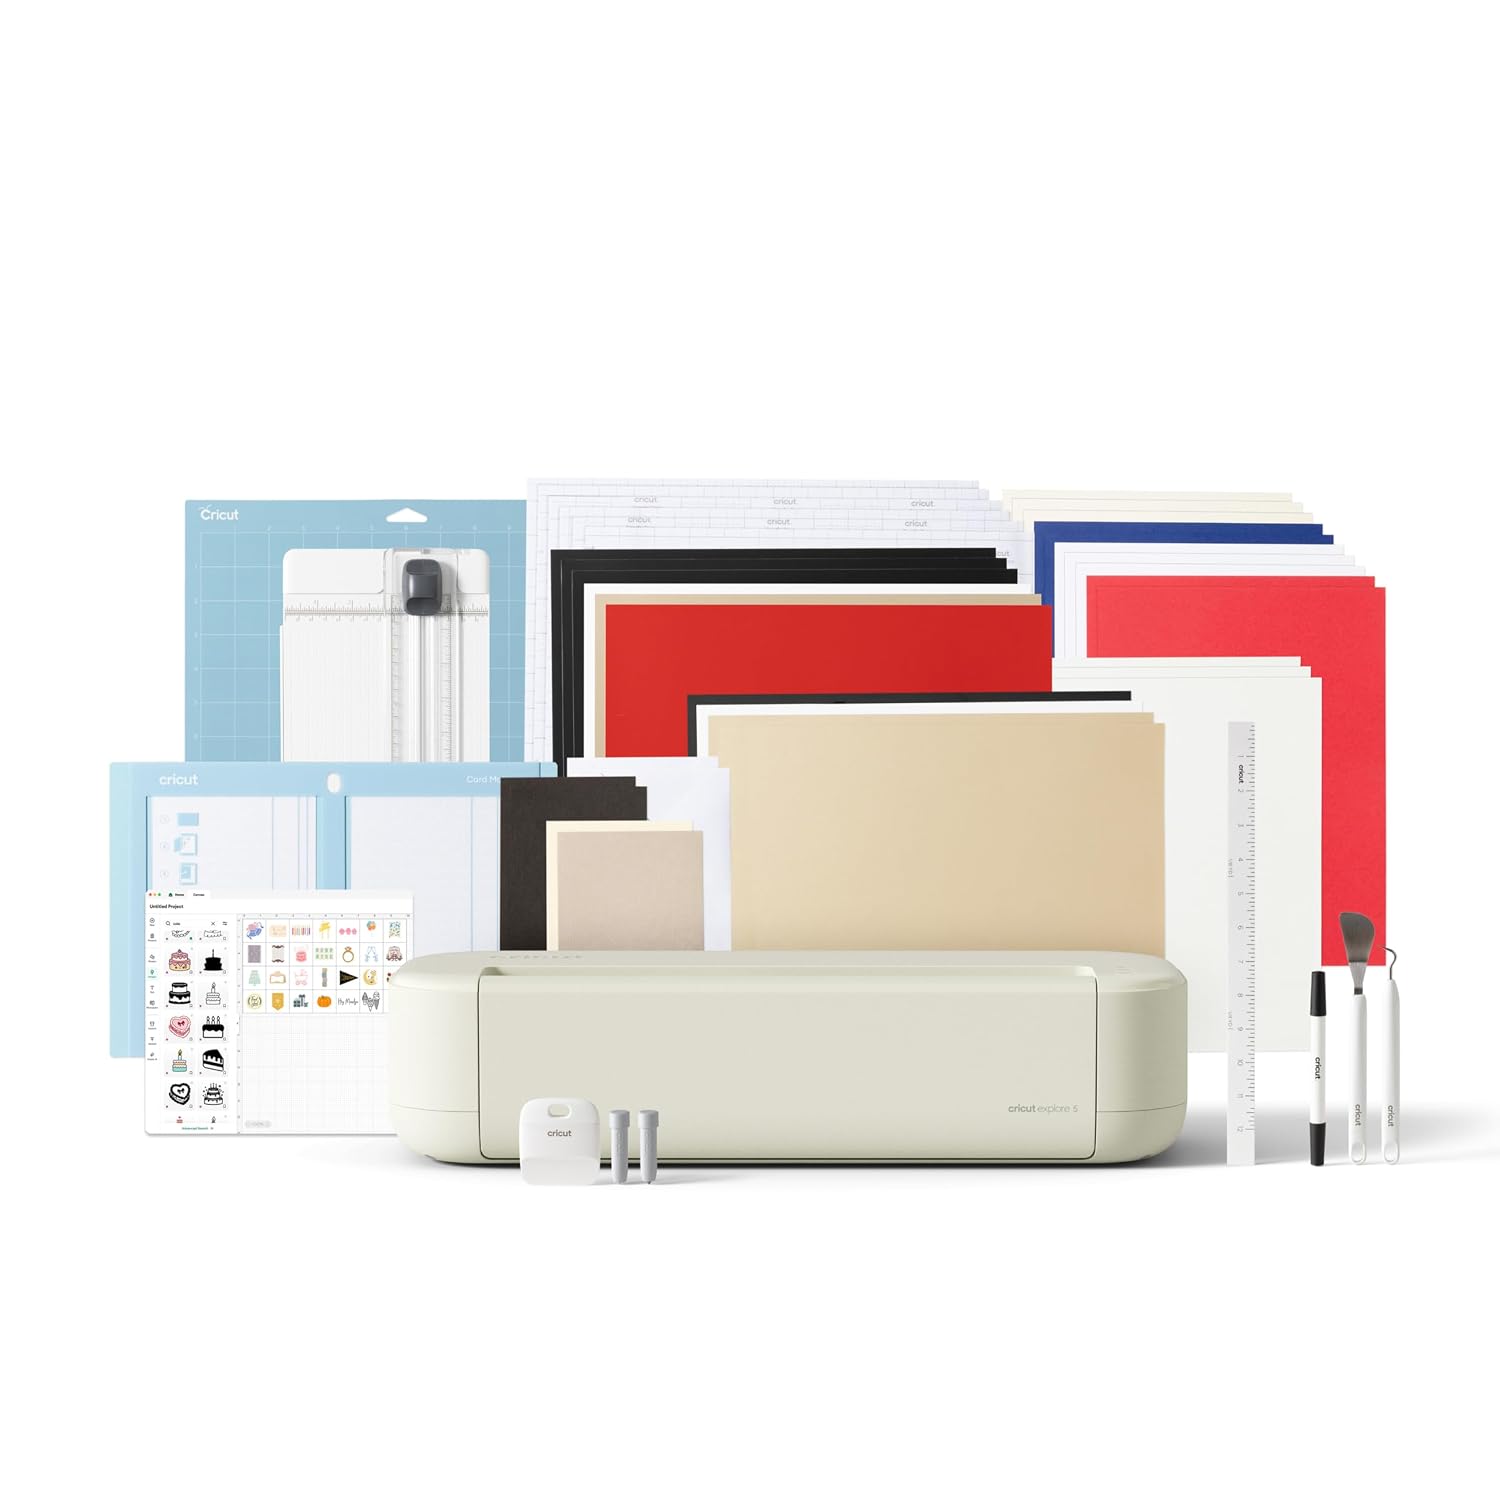
The small machine for quick projects: Cricut Joy™ 2 Essential Bundle + Digital Content, Blue
 Visit on Amazon →
This is the compact machine in the lineup, sold as a bundle with digital content. The Joy line is built around quick, small, single-color work: labels, small decals, cards, and the kind of cutting you do standing at the kitchen counter instead of at a dedicated craft table. It is not a replacement for a full-size machine, and it is not meant to be.
The bundle's digital content is the part to think about honestly. Digital content is a nice bonus, and it is also a soft on-ramp to Design Space's paid tier, which is where the real recurring cost in this hobby lives. Buy the machine for the machine and treat the content as a gift, not a reason. If you already own an Explore or a Maker, you do not need this. If you are starting from zero and you know your projects are small, this is a cheaper way in than the full-size lineup, and it is the machine I recommend to students who want to make labels and small decals without committing to a craft table.
Flaws but not dealbreakers: The compact format means compact projects. If you want to cut a full shirt design or a large decal in one pass, this is the wrong machine and you will fight it.
Beginners with small projects and a small budget will get more use out of this than out of a full-size machine they never learn.
The actual workflow
Here is the process I teach, in order. It works on any Cricut.
Step one: Test cut on scrap. Never start a project on the good material. Load a scrap of the same material, run the smallest shape in your design, and look at the result. This one habit will save you more material than any accessory you can buy.
Step two: Look at the blade. Pop the housing out and look at the tip under a bright light. A sharp blade has a clean point. A dull one looks slightly rounded or carries a tiny burr. If you cannot tell, cut a small circle on paper and look for fuzz on the edge.
Step three: Swap the blade. Open the housing, pull the old blade out, and seat the new one all the way down. It should sit flush with no gap. If it sits proud of the housing, it is not seated and your depth will be wrong.
Step four: Set pressure for the material, not for the machine. Every material has its own setting, and the presets in Design Space are a starting point, not gospel. If a preset leaves you with a kiss cut when you wanted a die cut, bump the pressure one notch and test again. If it cuts through the backing, drop it one notch.
Step five: Check the mat. If the material lifts during the cut, the mat is the problem. Wash it if it is a washable mat, or retire it if it is not. Sticky mats are cheap. Ruined projects are not.
Step six: Weed slowly. Weeding is where most beginners destroy a good cut. Use a hook tool at a shallow angle and pull the negative material away in one steady motion rather than picking at it. If the vinyl tears while weeding, your blade was dull, not your hands.
Step seven: Rotate between two blades. I keep two blades in rotation and swap when one starts dragging. Rotating gives each blade a rest, and more importantly it means you always have a sharp one on the bench when a project is due.
Step eight: Know when it is the machine. If a fresh blade, a sticky mat, and correct pressure still give you a bad cut, then you have a hardware problem. That is rare. I have replaced exactly one machine in six years of production work, and it was a motor, not a blade.
What this costs over a year
The math that matters in this hobby is cost per cut, and blades are the line item people ignore. A blade is a consumable. You will go through several a year if you cut regularly, and each one costs a fraction of what a new machine costs. That is the entire argument for buying blades in multiples and keeping the machine you already own.
The machine is a different calculation. A compact bundle is the cheapest way into the hobby, and it is also the most limiting. A full-size machine does more and asks more of your budget. Neither one includes the subscription Design Space will keep offering you. Decide what your projects actually are before you decide which machine you need. Most people who ask me whether they should upgrade have not yet worn out a single blade.
What I left out and why
Mats. You need them, they are consumables, and I buy third-party because I have never noticed a difference. This is a blade and machine guide, so mats get their own article.
Accessory bundles. Most of what comes in a big bundle is a tool you will use once and a material you could buy cheaper elsewhere. Buy the machine, then buy tools as a project demands them.
Subscriptions. Design Space's paid tier is a real cost and a real choice, and my opinions about it belong in a different piece. For this workflow you do not need it.
Competitor machines. I am not going to turn this into a brand war. The other brands caught up on hardware years ago. What they have not caught up on is the tutorial ecosystem, and for a beginner that ecosystem is worth more than a spec sheet.
The bottom line
Replace the blade first. Test on scrap. Set pressure for the material. Keep a sticky mat. Those four habits will fix the vast majority of bad cuts, and they cost less than one accessory bundle. If you are starting from zero and your projects are small, the compact bundle is a legitimate way in. If you already own a machine and it is cutting badly, it is almost certainly not broken. It is asking for a blade.