A vinyl cutting side business does not start with the most expensive machine in the aisle. It starts with one material you can cut cleanly, one product you can repeat, and a price that still leaves something behind after the vinyl, the mat, and the blades are paid for. Most people who ask me how to start one are already three accessories deep and still have not sold a single sheet.
I have run a sticker and vinyl shop out of my house in Nashville for six years, first around two small kids and now around weekend craft classes. In that time I have gone through more than 200 rolls of vinyl, dulled a notebook's worth of blades, and learned that the machine is almost never the thing standing between a crafter and a first sale.
The thing standing in the way is the plan. So here is the workflow I teach in class, plus the two items I would put in front of a beginner who wants to sell without buying the whole ecosystem first.
Why you should trust me
I sold die-cut stickers, decals, and HTV apparel on Etsy for six years before I turned the shop into a teaching schedule. I own an old Explore and a Maker 3, I have borrowed a competitor unit for comparison, and I keep a running notebook of blade types, pressure settings, and which materials lie about their thickness on the label.
What I actually track is boring and useful: how many cuts a blade gives me before it starts tearing instead of slicing, how long a mat stays sticky, and what each finished item costs me in consumables. That notebook is why I can tell you which upgrades matter and which ones are just a nicer box. It is also why I tell beginners to buy the cheapest tool that does the job and put the rest of the budget into material they can sell.
How I chose what goes in this guide
Two criteria decided everything here. First, does it help you make something you can list and sell this month, not someday. Second, does it lock you into a subscription or a brand-specific material before you have made a dollar.
I have not run the cutter below on my own bench, so I am judging it on its format, its cutting width, and the materials it says it handles, not on a test sheet I did not cut. Same honesty on the book: I am judging it on the job it does, which is the part most crafters skip, pricing and listing, rather than on machine-specific walkthroughs.
If you already own a Cricut, you probably do not need a second cutter. If you are starting from zero and your first products are stickers and small decals, the math below changes completely.
The cutter
You want the narrowest, simplest machine that still cuts the material you plan to sell. A 12-inch mat machine is wonderful, and it is also a lot of hardware if your entire catalog is two-inch stickers and card toppers.
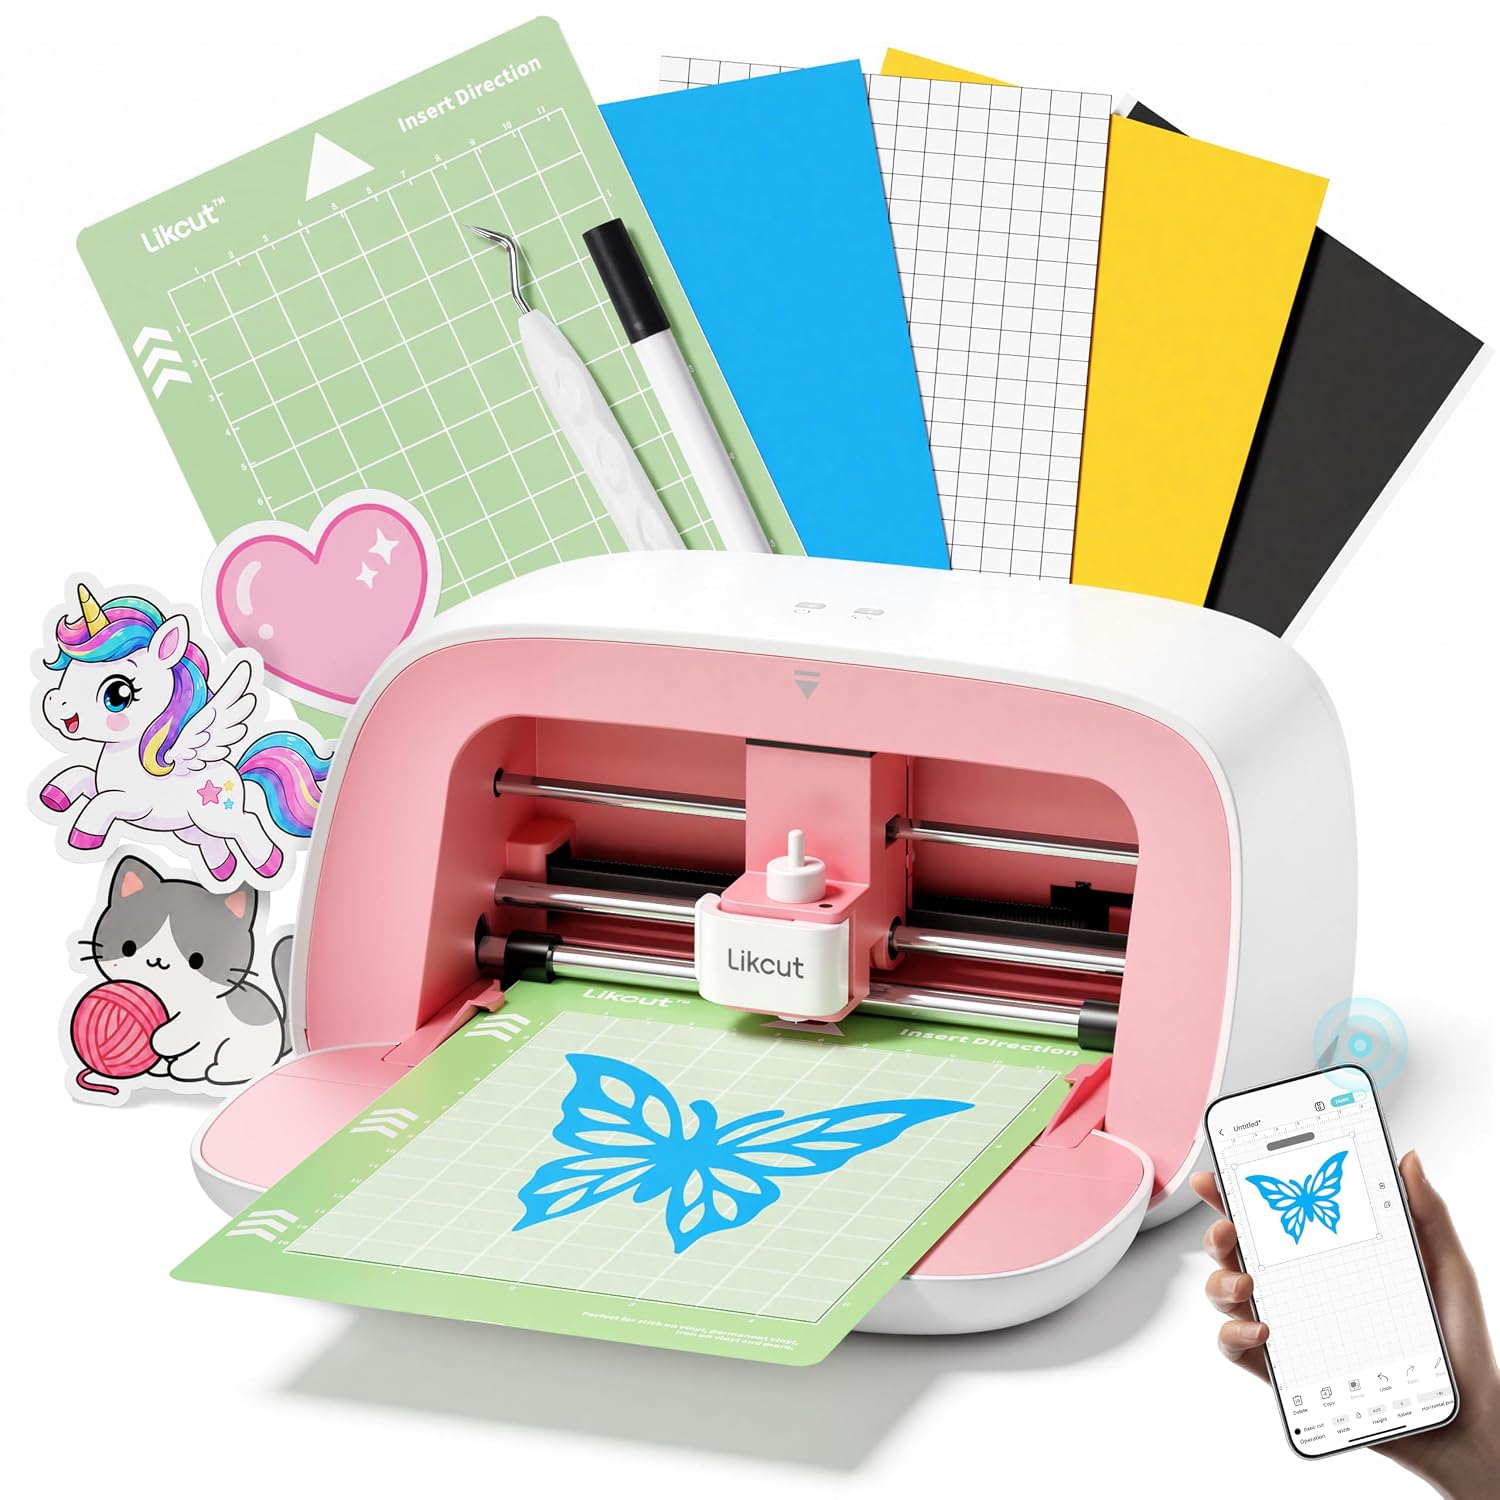
Our pick: Likcut S501 Vinyl Cutter Machine, 4.5" Sticker & Cardstock Cutting, Pink
 Visit on Amazon →
This is a compact cutter built around a 4.5-inch working width, aimed at stickers and cardstock. That narrow format is the whole point. It sits on a desk instead of owning a table, it is small enough to keep out permanently, and a machine that stays out is a machine that gets used on a Tuesday night instead of a weekend project you keep postponing.
The trade-off is obvious once you say it out loud. A 4.5-inch width means no full-size shirt designs, no big wall decals, no 12-by-12 layouts. What it does cover is the category most beginners actually sell first: die-cut stickers, small vinyl decals for tumblers and laptops, cardstock cake toppers, tags, and papercraft layers.
Check current Amazon price before you decide, and do the honest version of the math: if your product list fits inside 4.5 inches, you are paying for capability you will use. If you already know you want to press HTV onto adult t-shirts, save up for a wide machine instead and do not buy this one as a stepping stone.
Flaws but not dealbreakers: Narrow working width. You will build a catalog of small items, not a catalog of everything. Plan your products around the machine instead of fighting it.
Anyone whose first product line is stickers, small decals, or papercraft should start here rather than at the top of the price ladder.
The business side
Hardware is the easy half. The half that decides whether this becomes income is pricing, photography, and listing copy, and that is the half nobody practices.
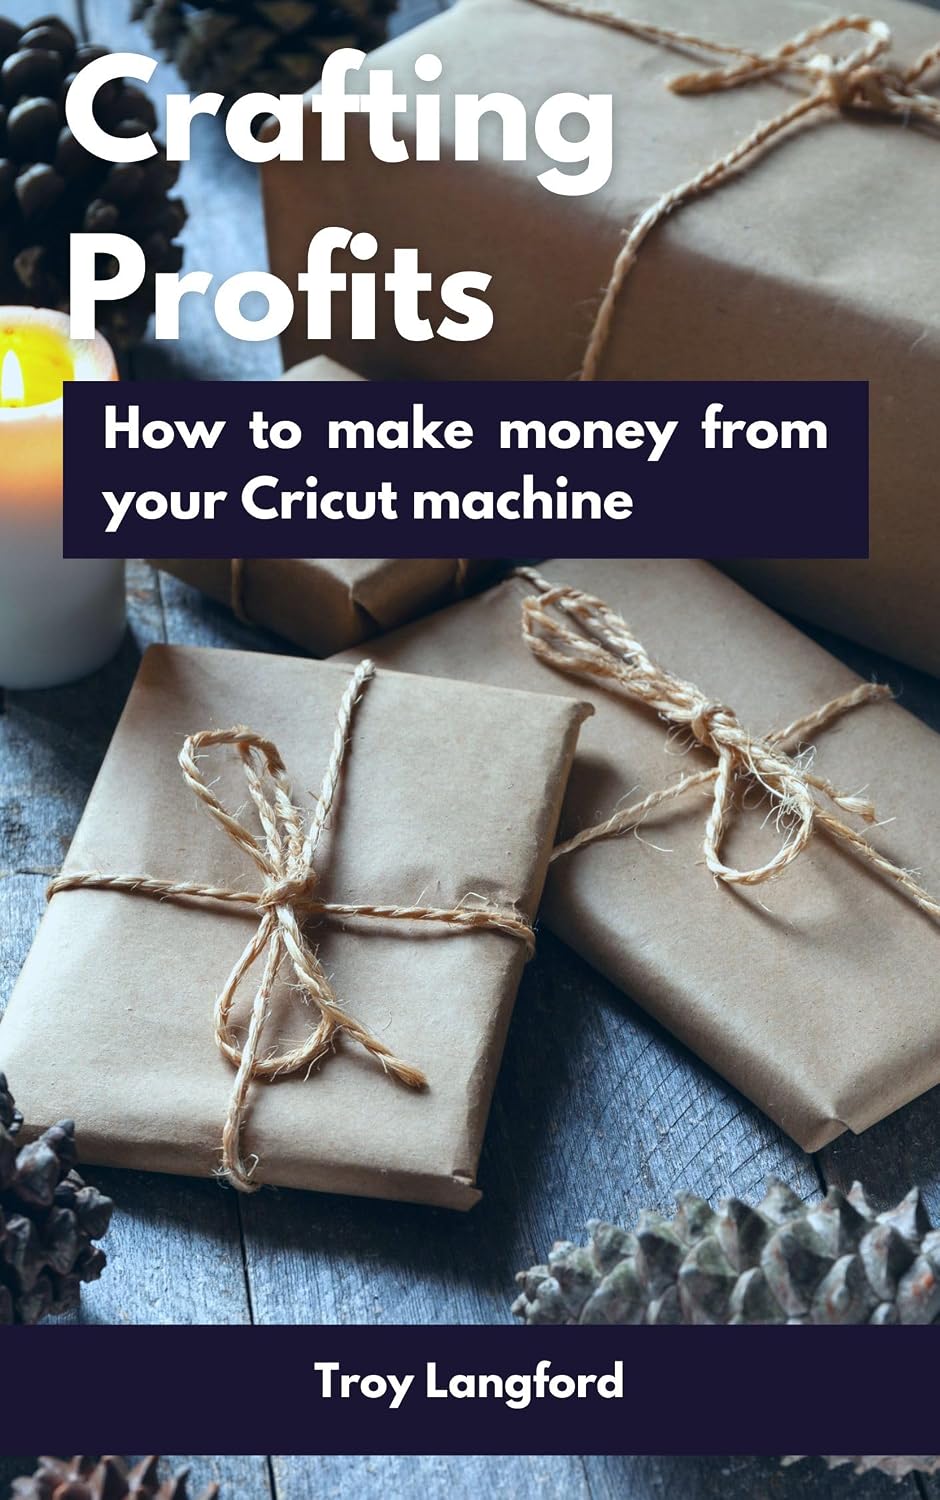
The reference: Crafting Profits: How to Make Money with a Cricut Machine (Easy Home Business Book 2)
 Visit on Amazon →
This one is written specifically around turning a Cricut into a home business, which means the machine-specific sections talk in Cricut terms. The parts that transfer to any cutter are the parts I care about: what to sell, how to price it, how to photograph a small item so it looks worth buying, and how to describe it in a listing.
If you are cutting on a different machine, read it for the business chapters and translate the machine chapters. The pricing logic does not change because your blade housing is a different shape. The same is true of the listing advice, which is really about clarity and photos.
Flaws but not dealbreakers: The Cricut framing. It assumes the software side of the brand, so a reader on different software will need to adapt some steps rather than follow them word for word.
Check current Amazon price, and treat it as the cheapest part of the whole setup. A book costs less than one ruined roll of material, and it is the item most beginners skip because they would rather buy another accessory.
The actual workflow
Here is the sequence I teach. It works whether you are on a compact cutter or a wide one.
Step one: Pick one product and one material. Not a category, one product. Die-cut stickers on glossy vinyl. Small decals on permanent adhesive vinyl. Cardstock toppers. Write it down and commit to it for your first twenty sales. Variety is a second-month problem.
Step two: Build a test sheet, not a product. Before you cut anything you intend to sell, lay out a row of the same shape at several sizes on one sheet and cut it. This is where you learn your machine's real behavior on that specific material, which is worth more than any settings chart, including mine.
Step three: Dial in blade and pressure. If the cut tears the backing paper, back the pressure off. If it leaves fuzzy edges or the vinyl lifts with the weeding hook, add pressure or replace the blade. Write down the number that worked and the date, because a blade that cuts cleanly today will not cut cleanly forever, and your notes are how you notice the change instead of blaming the machine.
Step four: Learn kiss cut versus die cut on purpose. A kiss cut goes through the vinyl and leaves the backing intact, which is what you want for sticker sheets. A die cut goes all the way through so the sticker peels off as a single piece. These are two different products with two different price points, and mixing them up on a customer order is how you get your first refund.
Step five: Weed, finish, and protect. Weeding is the slow part and it never gets fast, it only gets accurate. For anything that will live on a water bottle or a car window, add a laminate layer or use a material rated for outdoor use. Skipping this step is the number one reason a first batch of stickers comes back as complaints.
Step six: Price from cost per cut, not from vibes. Add up the material used for one item, then divide the roll price by the number of cuts you get from that roll. That gives you a material cost per unit. Add your packaging, then multiply by a markup that pays you for the time. If the number feels high, make the item smaller or use a cheaper material. Do not simply lower the price and hope volume covers it, because material does not get cheaper when you sell more of it.
Step seven: Photograph it once, properly. One clean background, one in-use shot, one scale shot next to a hand or a coin. You will reuse these three photos for every listing variation, which is the only reason listing gets faster over time.
Step eight: List, then repeat the winner. Put up a small number of listings, watch which one gets views, and make more of that one. Cutting forty different designs is a hobby. Cutting one design four hundred times is a business.
What I would skip
Skip the subscription tier until a customer asks for something you cannot do without it. Skip the 12-by-12 mat stack if your machine is compact. Skip the giant accessory bundle, because you will use four items in it and store the rest. Skip the heat press until you have sold shirts, not before.
And skip the brand-versus-brand argument entirely. I review hardware, not tribes. If you already own a machine that cuts your material cleanly, you do not need a new one, you need a product and a price.
What it all costs
I am not going to quote you prices, because they move and because the honest answer is that the machine is the smallest line in this budget. Here is how the real math runs:
- Machine: a one-time cost. Divide it by the number of items you sell and it disappears fast.
- Material: a recurring cost, and the one that decides your margin.
- Blades and mats: recurring, and the line beginners forget. Budget for them monthly.
- Software subscription: optional, and skippable until you hit a real limit.
- The business reference: the smallest line, and the one that changes your pricing.
The number that matters is cost per cut, and you cannot know it until you have cut a test sheet and counted. Do that once, honestly, and you will price better than most shops on the platform.
That is the job. Pick one product, cut a test sheet, price it from real numbers, and list it. The machine was never the hard part.