Most people who want to get into vinyl cutting start by shopping for a machine. That is the wrong order. A compact vinyl cutting machine is only half of a working setup, and the half that decides whether you stick with the hobby is everything around it: the software you are willing to open twice a week, a blade you actually replace, and material bought in a size your machine can use without trimming.
This is the setup I walk new students through in my weekend classes, built around the two compact cutters I would hand a beginner today. You get the buying decision, the five-minute setup, the cut workflow step by step, and the list of things to leave in the cart, because the accessory aisle is where most beginners lose their money and their patience.
One note before we start. This is not a brand war. Both machines below cut vinyl, and both will make you money or make you birthday cards. What separates them is cut width, software, and how hard the manufacturer pushes a subscription at you.
Why you should trust me
I ran an Etsy sticker and vinyl shop for six years before teaching became the main job, and I have cut through more than two hundred rolls of vinyl in that time. I own three cutting machines, I keep a notebook of blade types and pressure settings, and I have watched a classroom full of people make the same four mistakes on their first cut. I also pay for the software subscriptions out of my own pocket, which is why I am blunt about them.
How I picked and how I tested
I do not publish lab numbers for cutters, because most of the numbers on the box are marketing. What I run instead is a four-question checklist, and I run it against every machine a student asks me about.
- Cut width. Everything else is secondary. If your machine cannot cut the width of material you actually want to use, you will be splicing designs together forever.
- Software. Does it work offline, does it stay out of your way, and how much of it is gated behind a paid tier?
- Materials. Can you use third-party vinyl, or does the workflow keep steering you back to one brand's line?
- Format. Can you buy material in a size that fits the machine? A narrow machine fed by cheap, widely available material beats a wide machine fed by expensive offcuts.
Then I run the workflow by hand on three jobs: a text decal, a kiss-cut sticker sheet, and a piece of heat transfer vinyl. If a machine cannot get through those three without wasting a sheet of material, it is not a beginner machine.
Two compact machines pass that checklist for me right now.
The two compact cutters worth starting with
Neither of these is a toy, and neither is a production machine. They are the two ends of the beginner decision: smallest possible footprint, or a slightly wider machine with software that lives on your computer instead of in a browser tab.
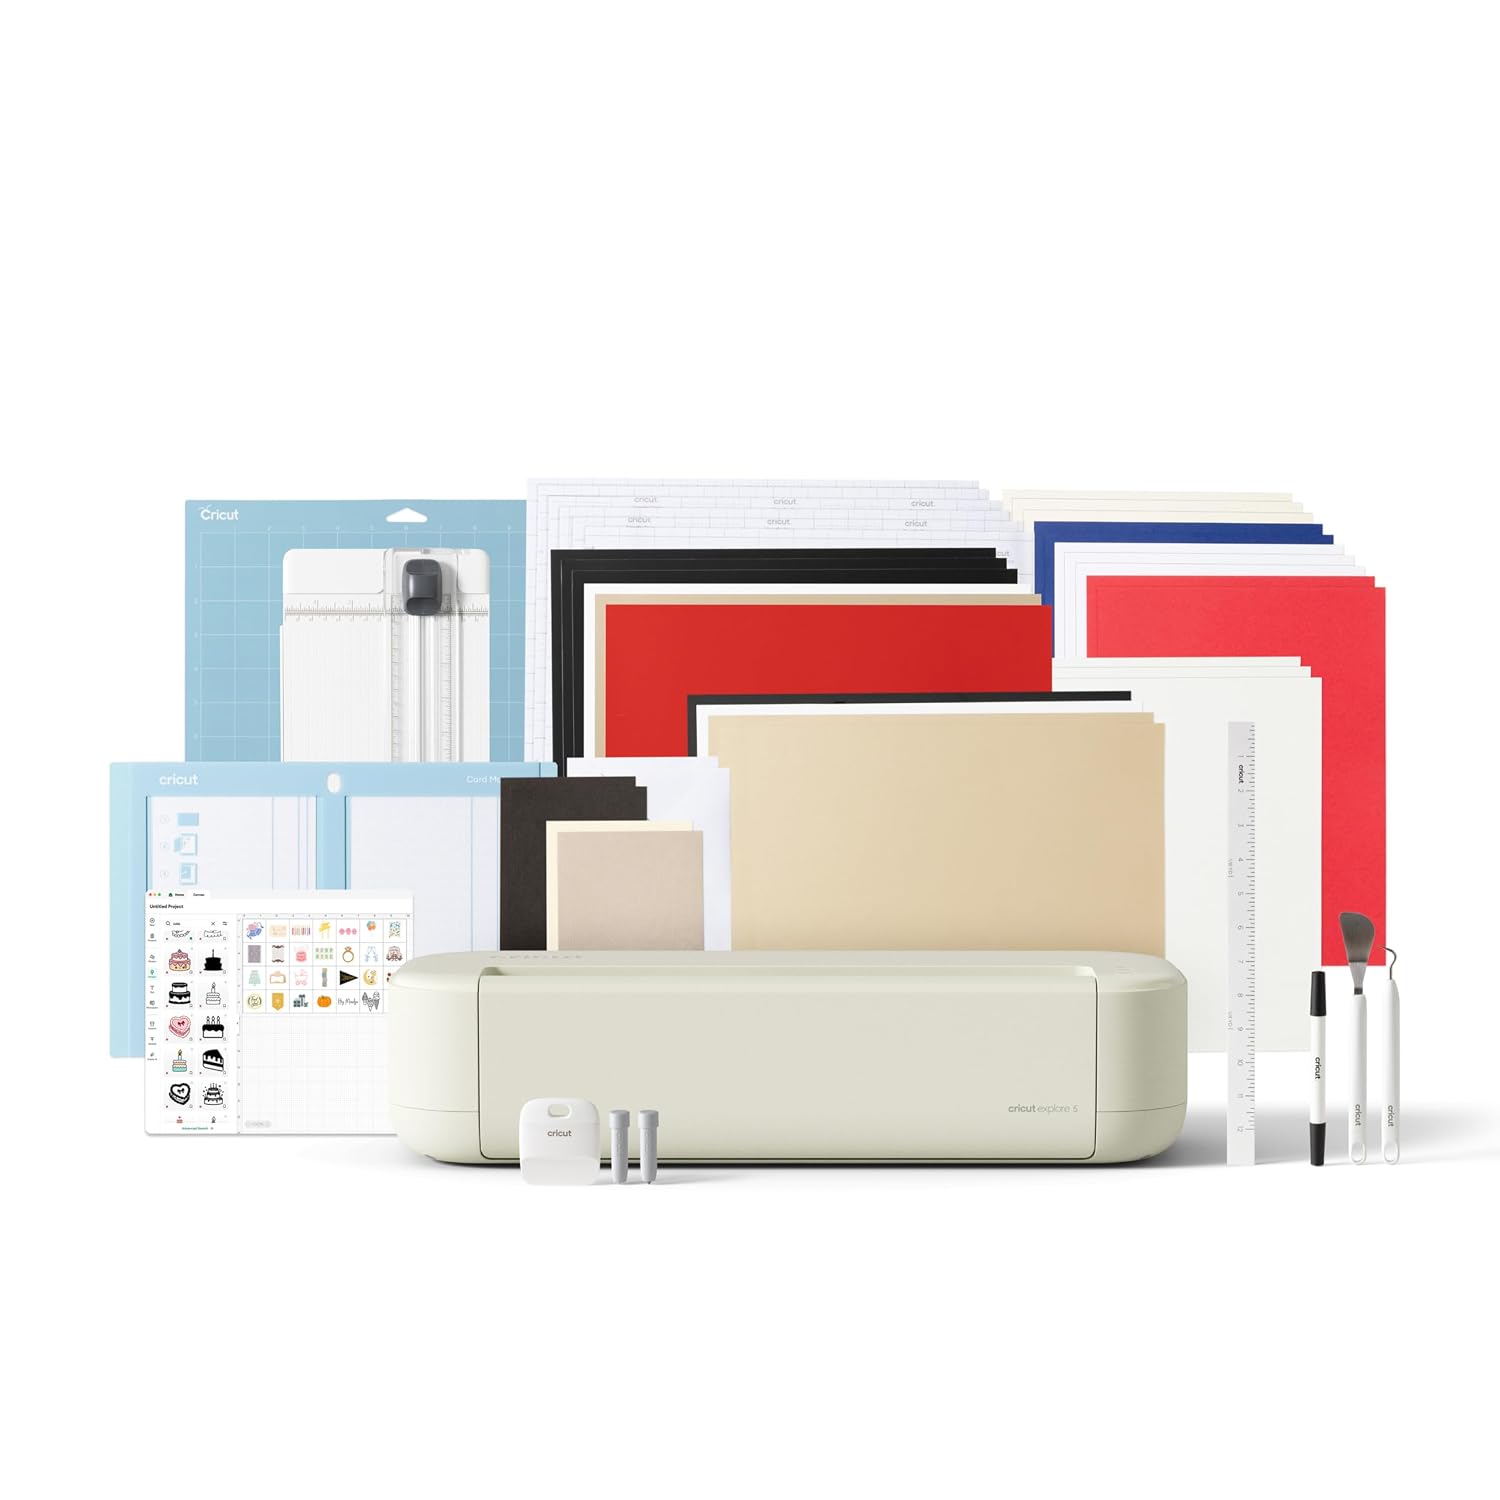
Budget pick: Cricut Joy Machine & Digital Content Library Bundle
 Visit on Amazon →
The Joy is the smallest way into Cricut's ecosystem, and the bundle version is the one to buy, because the included digital content library means you can cut something the same afternoon instead of spending your first weekend hunting for a file. That matters more than people admit. The number one reason a new cutter ends up in a closet is that the owner never got past the "where do the designs come from" step.
What it does well: cards, labels, small decals, and anything where the design fits in a narrow strip of material. It is the machine I recommend to someone who wants to cut a hundred small things a year and does not want a table dedicated to it.
Flaws but not dealbreakers: The format is deliberately small, so anything wide is out. The software is cloud-based, which means a bad connection is a bad craft night, and the paid tier is where most of the good content sits. Cricut's own materials are convenient and priced accordingly. You can absolutely run this machine on a free account with your own files, and that is the mode I would start in.
Anyone cutting small volumes in a small apartment, or a parent buying a first machine for a kid who already draws their own designs, will get their money's worth here.
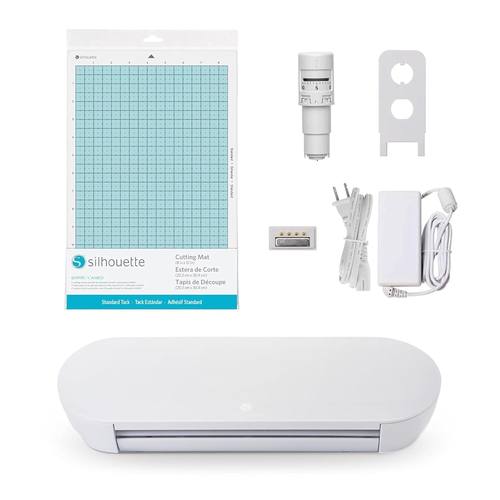
Upgrade pick: Silhouette Portrait 4-9 inch Vinyl Cutting Machine with Studio Software, PixScan, Electric Tool and ES Mat Compatible, SNA and IPT Enabled, 50 db
 Visit on Amazon →
The Portrait 4 is the step-up pick, and the number in the name is the one that matters: nine inches of cut width means normal material sizes work without trimming. It ships with Silhouette Studio, which installs on your computer and handles basic cutting without a network connection, and the listing includes an electric tool, ES mat compatibility, and PixScan, which is Silhouette's feature for lining up cuts around something you printed. The listing also describes it running around 50 dB, which is quiet enough that I would not think twice about cutting at night in an apartment.
If you sell anything, this is the one that scales with you. Nine inches covers decals, shirt-front designs, and most sticker sheets people actually want to make.
Flaws but not dealbreakers: Studio's free version is genuinely capable, and Silhouette will keep pointing you at the paid upgrade for the nicer features, so budget for that decision the same way you would with Cricut. The learning curve is a little steeper than Cricut's, mostly because of the extra features you now have to ignore on purpose.
Anyone who wants to cut wider material, work offline, or graduate from small crafts to products for sale should start here.
The five-minute setup before your first cut
Unbox, plug in, and resist the urge to cut immediately. Do these five things first.
Install the desktop software. Design Space for the Cricut, Silhouette Studio for the Portrait. Do this on a computer if you have one. Phone apps are fine for browsing and terrible for laying out a cut.
Create an account and stay on the free tier. Both companies will show you a subscription offer during setup. Decline it. You can cut your own files on both machines without paying monthly, and you should learn the machine before you decide whether the content library is worth it to you.
Connect and update the firmware. Both machines will want an update on first connect. Do it now, not in the middle of a project.
Load a blade and check the housing. A loose blade housing is the number one cause of ragged cuts that get blamed on the machine.
Grab scrap material for a test cut. Never dial in a new material on the piece you care about.
The actual workflow, step by step
This is the same sequence I write on the whiteboard at the start of every class. It works on both machines.
Step one: decide the cut type before you design anything. Kiss cut means the blade cuts the material but leaves the backing intact. That is what you want for stickers, and it is what makes a sticker sheet peelable. Die cut means the blade goes through everything, backing included. That is what you want for a vinyl decal you will weed and transfer. Choosing wrong here means starting over.
Step two: size the design to your material. Measure the width you have, subtract a margin, and design to that. A design that overshoots the material edge is a wasted sheet, and beginners do it constantly because the on-screen canvas does not match the physical mat.
Step three: mirror anything that goes on fabric. Heat transfer vinyl is cut face down and mirrored. Skip this step and you get a shirt with backwards text, which is a rite of passage for exactly one shirt.
Step four: test cut on scrap. Load scrap, run a small shape, and check three things. Did it cut through cleanly, did the blade drag, and did the material shift. Pressure too high leaves score marks in the backing. Too low leaves fuzzy edges you cannot weed.
Step five: adjust once and re-test. One adjustment, one re-test. If it is still wrong, the blade is probably dull rather than your settings being wrong. Most "machine problems" I get asked about in class turn out to be blade problems.
Step six: weed on a clean surface in good light. Weeding is where new crafters quit. Use a weeding tool, work slowly, and keep the vinyl flat. For intricate designs, weed from the inside of the design outward so you do not lift the fine details you need.
Step seven: transfer or press. For adhesive vinyl, apply transfer tape, burnish it, then peel and place. For heat transfer vinyl, press according to the material's instructions and peel at the temperature it calls for, hot or cold. Getting impatient here ruins a good cut.
Step eight: log the settings. Write down the material, the blade, and the setting that worked. Your notebook becomes the most valuable tool you own, because the second time you cut that material you will not have to experiment.
What I would leave in the cart
Every machine listing pushes bundles, and most of them are not worth it. Skip the giant accessory kit with twenty tools you will never touch. Skip the branded vinyl multi-pack until you know which colors you use, since you will end up with twelve rolls of an orange you hate. Skip the branded mats if you cut a lot, because mats are a consumable and third-party mats behave the same in my experience. Skip the subscription for the first month, cut your own files, and decide later.
The one accessory I would buy is a spare blade. You will need it sooner than the packaging suggests.
The competition and why it lost
Other brands and other machines are fine, and this is not the place for a tribe argument. The reason this guide stops at two machines is that a beginner does not need a wider comparison, they need a decision they can act on.
A big-format machine only makes sense once you know exactly what you would cut on it. A machine that only works with one brand's materials is a subscription in hardware form, and I would rather you spend that money on material. If you already know you want to cut wide, cut often, and sell what you make, buy accordingly and skip this guide. If you are not sure yet, start compact.
What this all costs
I am not going to quote prices, because they move and you can check both listings yourself. Think in cost per cut instead.
A roll of vinyl makes a lot of small decals. Once you are through your first roll, the material cost per sticker or decal is small change. The machine is a one-time cost. The recurring cost is software if you let it be, and material if you cut a lot. That is the whole budget.
The trap is that the recurring costs arrive quietly. A subscription here, a branded material there, a replacement mat every few weeks, and suddenly the hobby costs more per month than it makes. My rule for students: buy the machine, buy a blade, buy one roll of material, and cut thirty things before you buy anything else. If you still love it after thirty cuts, you will know exactly what to spend on next.
That is the job. Set it up once, dial in your blade, and let the machine do the work.